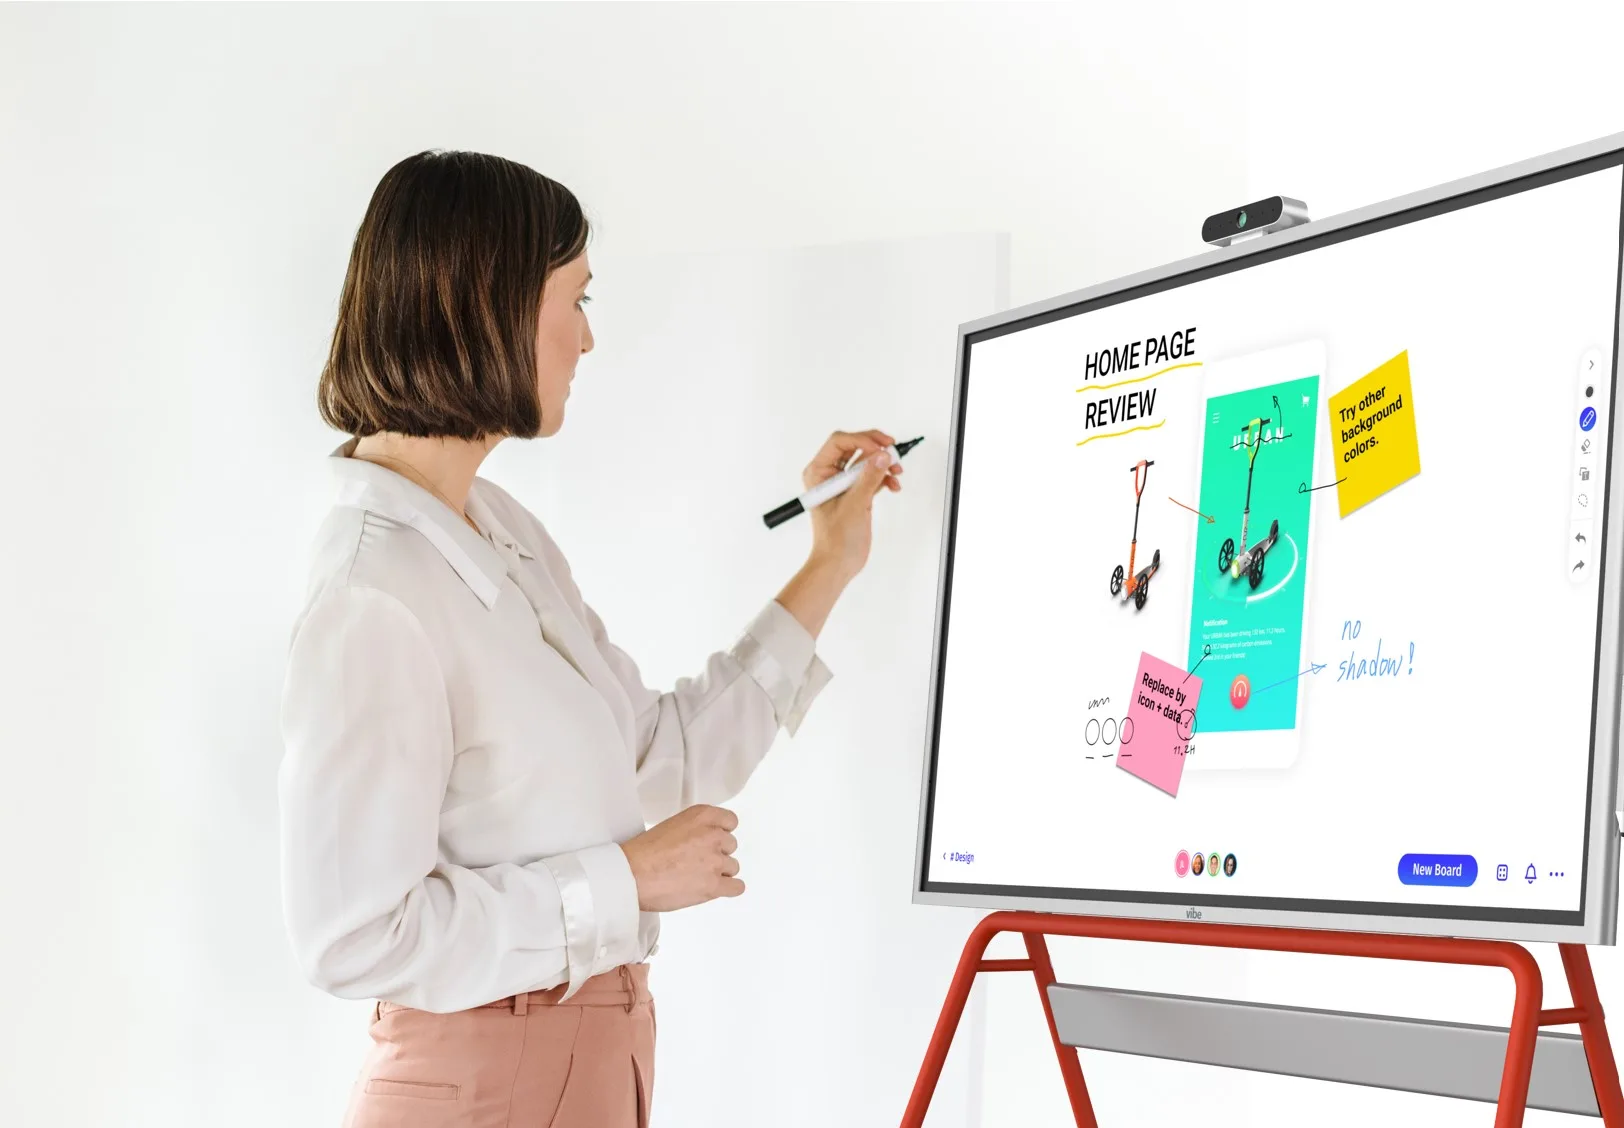

In lesson planning, "presentation" refers to two related but distinct things. The first is the presentation stage—a specific phase in structured teaching models where the teacher introduces new material to students for the first time. The second is the lesson presentation itself: the slides, visuals, and delivery tools a teacher uses to make that material clear and engaging.
This guide covers both. Whether you’re looking to understand what the presentation phase involves in a formal lesson plan framework, or you want practical guidance on structuring and delivering a lesson presentation more effectively, you’ll find both here.
What Is Presentation in a Lesson Plan?
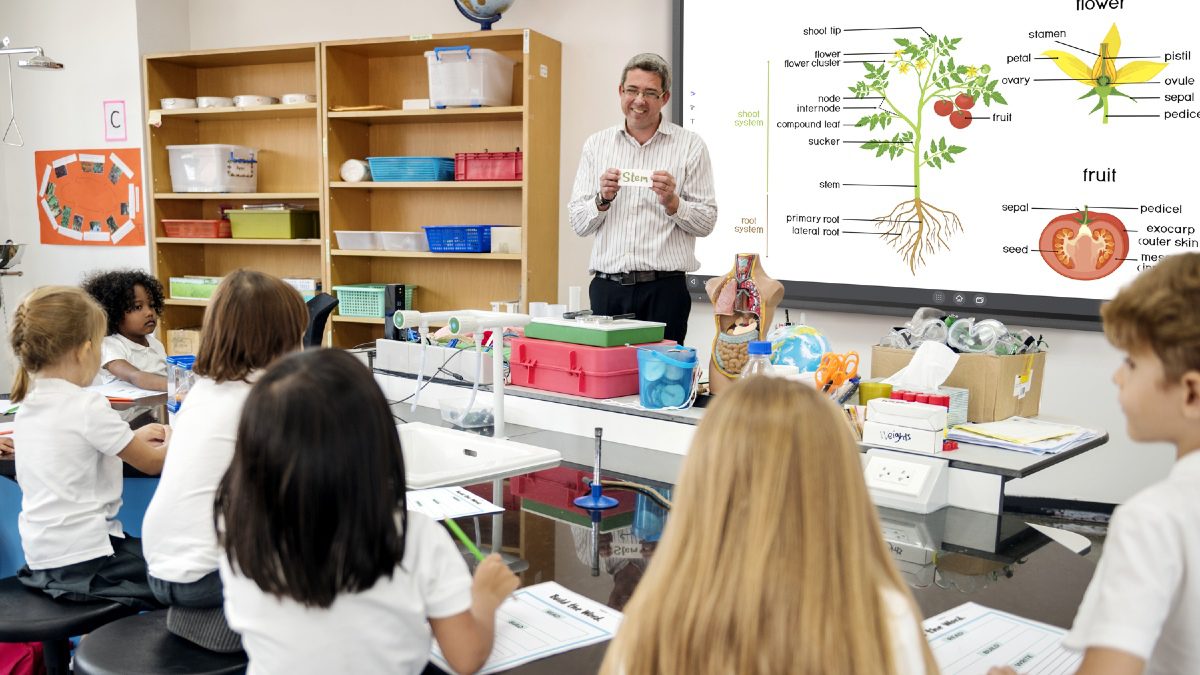
The presentation stage is the part of a lesson where the teacher introduces new content—concepts, vocabulary, skills, or procedures—that students haven’t encountered before. It follows the introduction or warm-up phase and precedes practice.
In the context of formal lesson plan structures (such as the Herbartian five-step model or the PPP framework common in language teaching), presentation is the moment when instruction formally begins. The teacher explains, demonstrates, models, or shows—and students are primarily receiving and processing new information rather than producing or applying it.
What happens during the presentation stage varies by subject and level, but effective presentation typically involves:
-
Clearly stating what students will learn and why it matters
-
Introducing key concepts, vocabulary, or procedures in a logical sequence
-
Using visual aids, examples, demonstrations, or models to make abstract ideas concrete
-
Checking for initial understanding through questions or brief checks before moving to practice
The Five Stages of a Lesson Plan
The presentation stage sits within a broader lesson structure. The most widely used framework in teacher education is the five-step model, sometimes called the Herbartian steps or the Hunter model depending on the adaptation. The stages are:

1. Introduction (Anticipatory Set / Warm-Up)
The lesson opens by activating prior knowledge and orienting students to what they’re about to learn. This might be a brief review of the previous lesson, a question that surfaces what students already know, a short problem to solve, or a hook that creates curiosity. The goal is to prepare students cognitively for new content and connect it to something familiar.
2. Presentation
The teacher introduces new material. This is the instructional core of the lesson—where concepts are explained, vocabulary is defined, procedures are modeled, or examples are worked through. Good presentation is clear, organized, and paced to allow comprehension rather than rushing toward coverage. It typically includes multiple representations of the same idea (spoken explanation, visual, worked example) to reach different learners.
3. Guided Practice
Students attempt to apply what was just presented, with the teacher actively involved. This might be working through examples together as a class, answering questions, completing a task with support available, or discussing the concept in small groups. The teacher observes, corrects misconceptions, and provides feedback before students work independently.
4. Independent Practice
Students work on their own to consolidate understanding. This is where learning becomes durable—through exercises, problems, writing tasks, or creative applications that require students to retrieve and use new knowledge without immediate scaffolding. Independent practice can happen in class or as homework, depending on the lesson design.
5. Assessment and Closure
The lesson ends with a check that objectives were met. This might be a brief quiz, an exit ticket, a class discussion, or a short written reflection. Closure also gives students a chance to summarize what they’ve learned, which strengthens memory consolidation. Teachers use this stage to gauge what needs reinforcement in the next lesson.
How to Describe the Presentation Stage in a Lesson Plan
When writing the presentation section of a formal lesson plan document, be specific about what you will do and what students will be doing. A vague description like "introduce the concept" doesn’t communicate instructional intent. A well-written presentation section includes:
-
What you will say or show: the key explanation, model, or demonstration you’ll deliver
-
What materials or tools you’ll use: slides, manipulatives, the board, a video, a worked example
-
How you’ll check initial understanding: a question you’ll ask, a brief task, or a signal students can give
-
Approximate time: how long this phase will take within the overall lesson
Example of a weak presentation description: "Teach students about fractions."
Example of a stronger one: "Using the whiteboard, introduce the concept of equivalent fractions by drawing two rectangles of equal size, dividing one into 2 equal parts and one into 4, and shading equal areas in each. Ask students: ‘What do you notice about the shaded parts?’ Walk through two more examples with different denominators. Check understanding by asking three students to explain in their own words before moving to practice."
The more concrete the description, the easier the lesson is to execute—and the easier it is for an observer or administrator to understand what was intended.
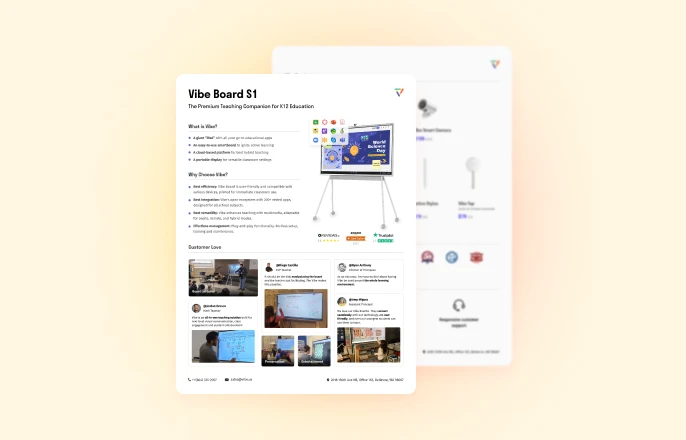
Today, lesson planning has been made less time-consuming and easier, thanks to smart whiteboards for the classroom. A digital whiteboard like the Vibe Board provides unmatched performance that shows you know your craft and are way ahead of the pack.
How the Presentation Stage Supports Learning
Each phase of a lesson serves a different cognitive function, and presentation is the phase where new schema gets built. Students can’t practice what they haven’t been introduced to, and they can’t apply concepts they haven’t first understood at a basic level. The quality of the presentation stage directly affects the quality of everything that follows.
When the presentation is unclear, rushed, or poorly sequenced, guided practice becomes remediation rather than consolidation. Students who missed something during presentation often struggle not because the content is too hard, but because the initial explanation didn’t give them enough to work with.
Effective presentation also matters for equity. Students who have strong background knowledge can often fill in gaps from a partial explanation. Students who don’t have that background need the presentation to do more work. Clear sequencing, multiple examples, visual support, and explicit vocabulary instruction during the presentation stage disproportionately benefit students who might otherwise fall behind.
How to Structure a Strong Lesson Presentation
A lesson presentation—whether delivered through slides, on a whiteboard, or through direct instruction—works best when it follows a clear internal structure. The content of what you’re teaching should shape the structure, but a few principles apply broadly:
Start with the objective, stated plainly. Students learn better when they know what they’re learning and why. A single sentence that tells students what they’ll be able to do by the end of the lesson—"By the end of today, you’ll be able to identify the main argument in a persuasive text"—focuses attention and gives students a frame for processing what follows.
Sequence from concrete to abstract. Especially for younger students or new concepts, begin with something tangible—an object, an image, an example from real life—before introducing the abstract representation (the formula, the definition, the rule). The concrete anchor gives students something to attach the abstraction to.
Limit the number of new ideas per lesson. One of the most common presentation failures is trying to cover too much. Each new concept adds to cognitive load. A focused lesson that teaches one thing well and checks understanding before moving on produces better outcomes than a lesson that covers four things superficially.
Build in checks before moving on. The end of the presentation stage is not the end of the teacher’s job in that phase. A brief check—a question, a thumbs up/down, a short task—tells you whether students are ready to practice or whether the presentation needs another pass before you proceed.
Making Lesson Presentations More Engaging and Interactive
A lesson presentation that runs entirely in one direction—teacher talking, students listening—puts a ceiling on engagement and comprehension. Even within the presentation stage, there are ways to involve students actively.
Embedding questions throughout (not just at the end) keeps students processing rather than passive. Cold-calling or random selection for responses keeps attention. Brief think-pair-share moments let students articulate their emerging understanding before the teacher moves forward. These techniques don’t interrupt the instructional flow—they deepen it.
Visual tools make a significant difference, particularly for complex or abstract content. Diagrams, timelines, concept maps, annotated examples, and worked problems displayed visually give students something to look at, reference, and return to. A clean slide or a well-organized board layout reduces the cognitive effort required to parse an explanation, leaving more mental capacity for understanding the content itself.
The Vibe Board S1 is designed for exactly this kind of dynamic classroom presentation. Teachers can present slides, annotate directly on top of them with a stylus during explanation, pull up reference materials without switching devices, and involve students by having them annotate or interact with the board. The 55″ and 75″ touchscreen display means every student can see clearly, and the built-in Vibe Canvas whiteboard is always accessible for working through examples in real time when a spontaneous explanation is clearer than a prepared slide. Because Vibe Board S1 runs on ChromeOS, it integrates with Google Workspace tools teachers already use—Slides, Docs, Drive—without adding complexity to lesson preparation.
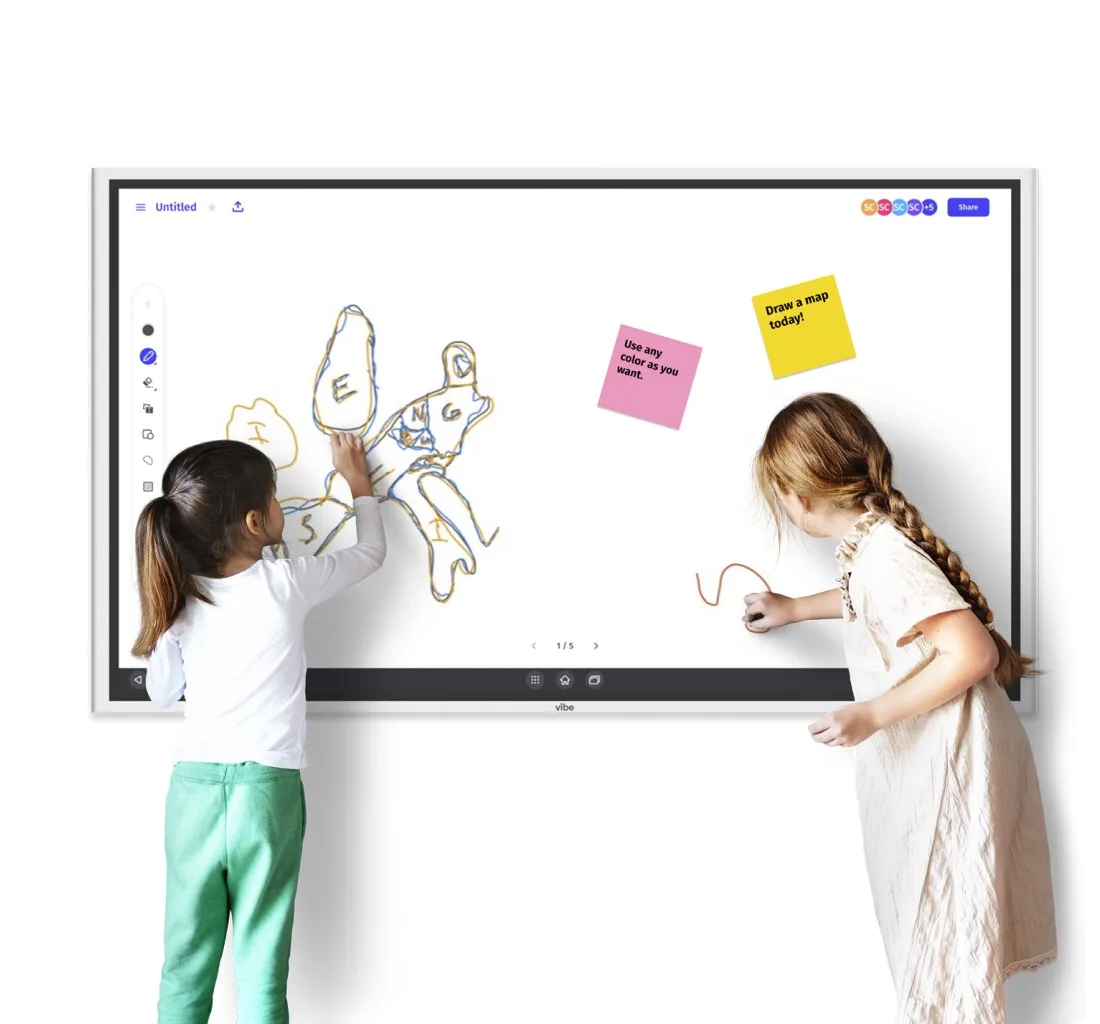
What sets Vibe Board apart for K–12 classrooms specifically is its open app ecosystem. Most teachers’ daily toolkit looks very different from a typical office setup: alongside Google Classroom and Slides, K–12 educators routinely rely on tools like Kahoot! for gamified quizzes, Nearpod and Pear Deck for interactive lesson delivery, Canva for visual projects, Desmos for math graphing, Quizlet for vocabulary review, and Seesaw for student portfolios. With Vibe Board’s 250+ integrated apps, all of these run directly on the board with a single tap—no IT ticket, no software installation, no switching devices mid-lesson. This matters because switching tools during instruction breaks momentum; having everything accessible from one surface keeps the presentation stage continuous and the class focused. For a full list of supported education apps, see the Vibe App Store.
Lesson Presentation Examples by Subject
What an effective presentation stage looks like varies by subject. A few examples across common curriculum areas:
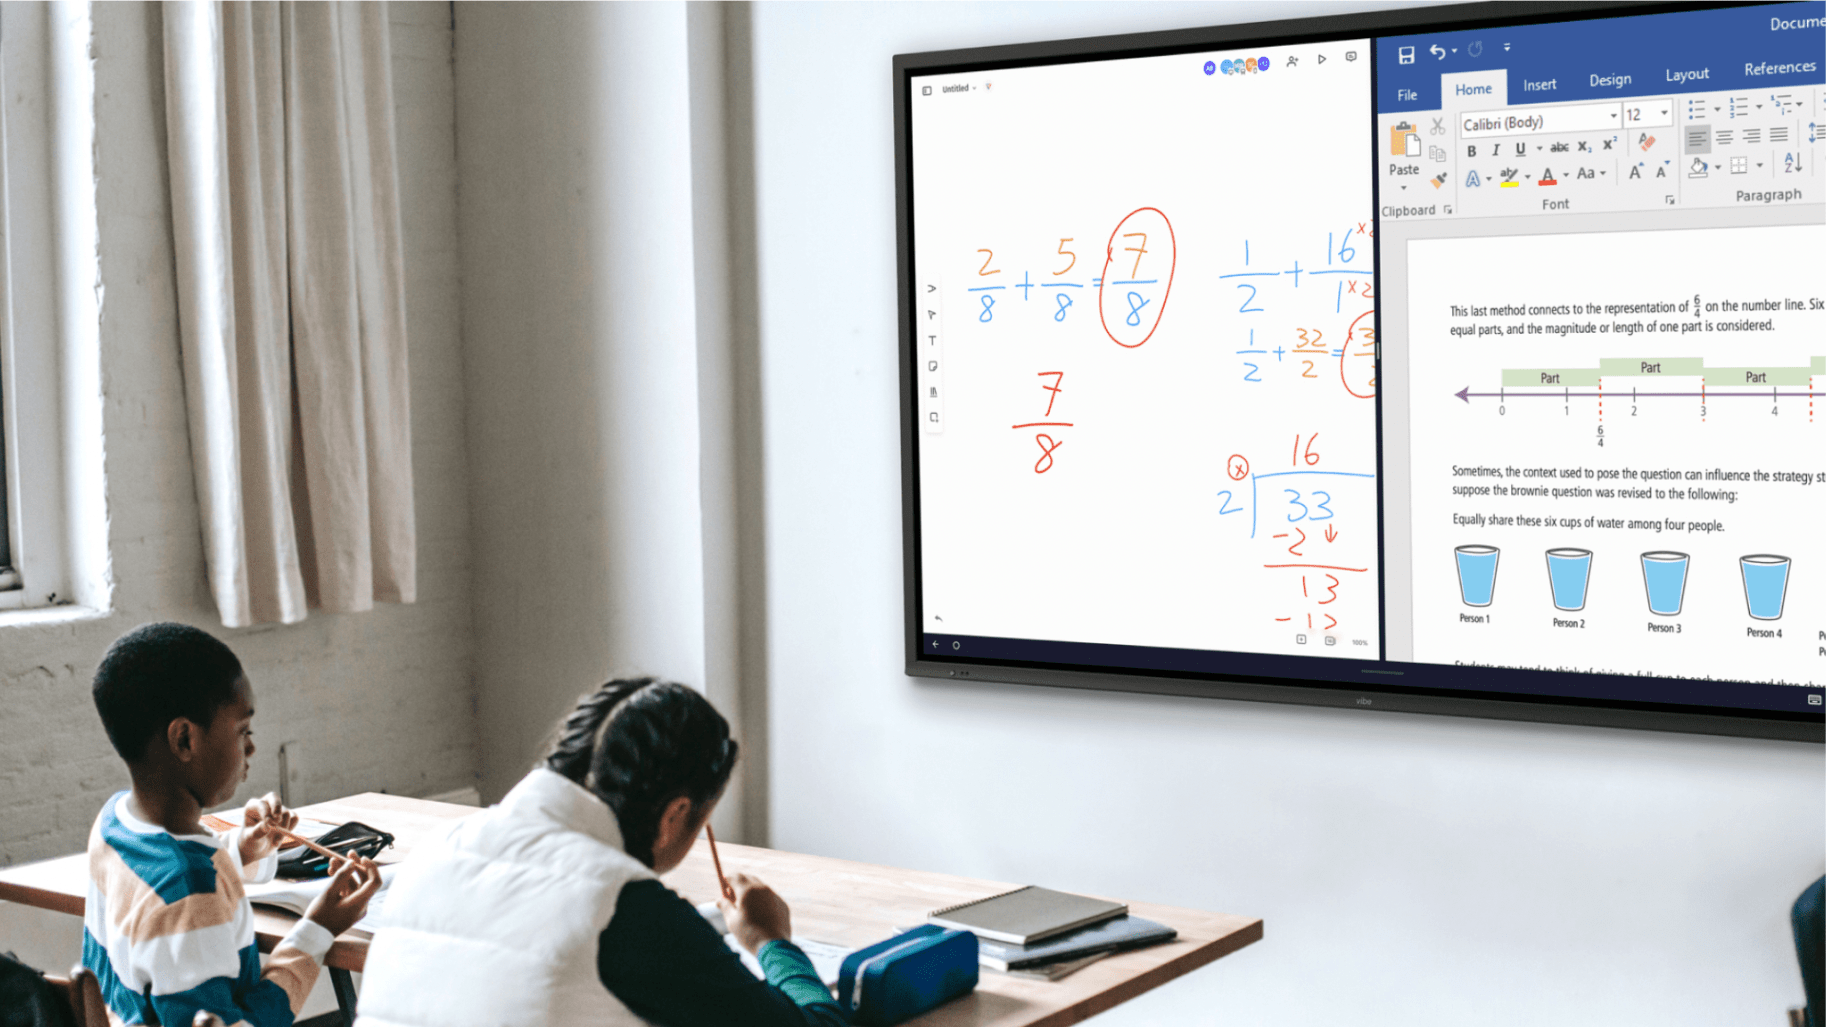
Mathematics: Present a new procedure by working through a fully solved example step by step, narrating each decision. Follow with a second worked example where you pause at each step and ask students to predict what comes next. Avoid introducing the algorithm before students understand what it’s accomplishing.
English Language Arts: Present a new reading skill (identifying theme, analyzing tone) by modeling it on a shared text. Think aloud as you apply the skill, making implicit reasoning explicit. Show students not just what to look for but how to notice it.
Alexa, a high school English teacher, uses the Vibe Board to design close reading lessons where students engage with texts directly on the shared canvas in real time—annotating, responding, and discussing without switching between platforms. "The process of close reading can be fun and engaging through the use of digital, real time platforms," she says. See how Alexa runs close reading on the Vibe Board →
At Hardin-Simmons University, anatomy professor Dr. Austin Alexander uses the Vibe Board to load 4D Anatomy software on the touchscreen, letting students rotate and explore a virtual cadaver before any formal explanation begins — turning observation into the starting point for learning. See how Dr. Alexander brings hands-on lab experience into the classroom →
History / Social Studies: Use primary sources, maps, or timelines as the entry point for new content rather than narrating facts. Students examine the source, make observations, and ask questions—then the teacher builds the historical context around what students noticed.
Language Teaching (PPP model): Present new vocabulary or grammar in context—a dialogue, a text, a video—before isolating and explaining the target language. Students encounter the form in use before they analyze its structure, which mirrors how language acquisition works naturally.
Common Mistakes in the Presentation Stage
A few patterns reliably undermine the presentation stage, regardless of subject:
Presenting too much at once. The urge to cover the full topic in one lesson leads to presentations that move faster than students can follow. It’s better to narrow the scope and teach it thoroughly.
Skipping the check for understanding. Moving directly from presentation to independent practice without a guided practice phase—or without confirming students understood the presentation—means students practice with incorrect or incomplete mental models, which is harder to correct later than a misconception caught immediately.
Using only one mode of explanation. Some students process verbal explanation well; others need visual representation; others need to see a worked example. Presenting the same idea through multiple representations takes more time in the short term and saves time in the long term.
Unclear objectives. When students don’t know what they’re supposed to be learning, they can’t monitor their own understanding. Stating the objective explicitly—and returning to it during the check for understanding—gives students a target to aim at.
FAQs
What is the presentation stage in a lesson plan?
The presentation stage is the phase of a lesson where the teacher introduces new content to students for the first time. It follows the introduction or warm-up and comes before practice. During presentation, the teacher explains concepts, models skills, works through examples, or demonstrates procedures—while students are primarily receiving and processing new information. The goal is to build initial understanding before students attempt to apply what they’ve learned.
What are the five steps of a lesson plan?
The five steps are: (1) Introduction or warm-up, which activates prior knowledge and orients students to the lesson; (2) Presentation, where new content is introduced by the teacher; (3) Guided practice, where students attempt to apply new knowledge with teacher support; (4) Independent practice, where students work on their own to consolidate learning; and (5) Assessment and closure, where the teacher checks that objectives were met and students summarize what they’ve learned.
How do you write the presentation section of a lesson plan?
Be specific: describe what you will say or show, what materials you’ll use, how long the presentation will take, and how you’ll check for initial understanding before moving to practice. Avoid vague descriptions like "introduce the topic." Instead, specify the key explanation, the examples you’ll use, the questions you’ll ask, and the check you’ll do. The more concrete the description, the more useful it is as a planning and teaching document.
What is the difference between lesson planning and lesson presentation?
Lesson planning is the preparation process—writing out objectives, sequencing content, designing activities, and choosing materials before the lesson happens. Lesson presentation is the delivery—how the teacher communicates new content to students during the lesson itself. A well-written lesson plan informs and structures the presentation, but the two are distinct: a plan is a document; a presentation is an event.
What should a lesson presentation include?
A lesson presentation should include a clear statement of what students will learn, an introduction that connects new content to prior knowledge, the core explanation or demonstration of new material, multiple examples or representations, embedded checks for understanding, and a clear transition to practice. Visuals, worked examples, and opportunities for students to respond during the presentation all improve comprehension compared to a lecture format.
How long should the presentation stage be in a lesson?
This depends on lesson length, student age, and content complexity, but a common guideline is that the presentation stage should not exceed one-third of total lesson time. In a 60-minute lesson, that’s roughly 15–20 minutes. Longer presentations tend to reduce time for practice, which is where most learning is consolidated. If the content requires more explanation, break it into shorter segments separated by guided practice activities rather than extending the presentation phase.
How do smart whiteboards help with lesson presentations?
Interactive whiteboards allow teachers to combine prepared materials—slides, documents, videos—with real-time annotation and live writing in a single display. Rather than switching between a projector for slides and a whiteboard for explanations, teachers can annotate directly on top of presented content, pull up examples on the fly, and involve students by having them interact with the board. This makes it easier to respond to student questions during presentation without losing the thread of the lesson. The Vibe Board S1 supports this workflow in K–12 classrooms with a 4K touchscreen display, stylus annotation, and native integration with Google Workspace. It also runs 250+ education apps—including Kahoot!, Nearpod, Pear Deck, Canva, and Desmos—directly on the board, so teachers can move between presentation, interactive activity, and live annotation without leaving the display.
What is a lesson presentation example?
In a middle school science lesson on photosynthesis, the presentation stage might begin with the teacher displaying an image of a plant and asking what students already know about how plants get energy. The teacher then introduces the equation for photosynthesis, explains each component with a labeled diagram, and works through what happens at each stage using an animation or drawing on the board. The teacher asks several questions to check that students understand the inputs and outputs before moving to a guided practice activity where students label a diagram themselves.