Presentations are everywhere and remain one of the most common and effective ways to share ideas. But while we’ve all experienced compelling presentations that drew the audience in, we’ve also sat through ones that fall flat and leave the audience losing attention. What makes the difference often comes down to how engaging and interactive the content is. That’s where multimedia really shines.
With the right tools and dedicated time for editing, revising, and practicing, a multimedia presentation will take your presentation and topic to new heights.
In this article, we’ll explore what a multimedia presentation is, look at examples, highlight the best tools to create one, and walk through the key steps to building your own multimedia presentation.
- A multimedia presentation blends text, images, audio, video, animations, and interactivity to communicate clearly and keep attention.
- Start your multimedia presentation with a cohesive story, then map specific media to key moments so every element supports the message.
- Use purposeful interaction—quizzes, Q&A, and whiteboarding—to guide pacing and adjust depth in real time.
- Follow a simple multimedia presentation process: frame the story, outline, choose tools, add media, then revise for clarity and flow.
What is a Multimedia Presentation?
A multimedia presentation is a type of presentation that integrates multiple forms of media content—think text, images, video, audio, animations, and interactive elements—into a single, cohesive experience. Unlike a traditional slide deck, which may rely only on static text and some visuals, a multimedia presentation combines these varied media formats to deliver information in a more dynamic and engaging way.
Modern multimedia presentations can take the form of interactive lessons, sales pitches, training modules, data visualizations, and even immersive virtual experiences.
The value of a multimedia presentation lies in its ability to address different learning styles and keep the audience’s attention. By blending visual, auditory, and especially interactive elements, multimedia presentations can simplify complex topics, strengthen message retention, and improve audience engagement—whether the goal is to teach, persuade, or inform.
Multimedia Presentations: 5 Common Examples
To deliver an effective multimedia presentation, first clarify the message and then choose the media type and format that best conveys it. Here are five common examples and how to use them.
Example 1: Video
Video is a compelling way to transform information—adding context to ideas and bringing theories to life through vivid examples. In education, incorporating video into lectures has been associated with higher in-class attention compared to traditional "chalk and talk," helping learners engage in the style that suits them best. In professional settings, short, purposeful clips can boost retention, keep attention high, and clarify complex points. By breaking the monotony of static slides, video punctuates key moments, illustrates use cases, and helps audiences grasp concepts faster.
Example 2: Quizzes
Quizzes keep audiences engaged by adding purpose, pacing, and feedback to the flow of a presentation. Start with a clear objective—confirming recall, gauging sentiment, or deciding what to cover next—and insert short quizzes at natural transitions. Keep questions simple and provide instant feedback to reinforce learning without distraction. Offer anonymous participation in large groups, or use team modes when collaboration is the goal. Close each quiz with a one‑sentence takeaway and use the results to adjust depth, examples, or speed as you move forward.
Example 3: Data Visualization
Large datasets can be powerful—and overwhelming—if presented raw. Data visualization turns complexity into clarity by organizing information into digestible graphs, charts, and maps that reveal trends and relationships at a glance. Embedding interactive visuals lets audiences explore scenarios and assumptions, improving comprehension and alignment. Animations can emphasize key changes over time or highlight pivotal insights. The goal is to reduce cognitive load while elevating
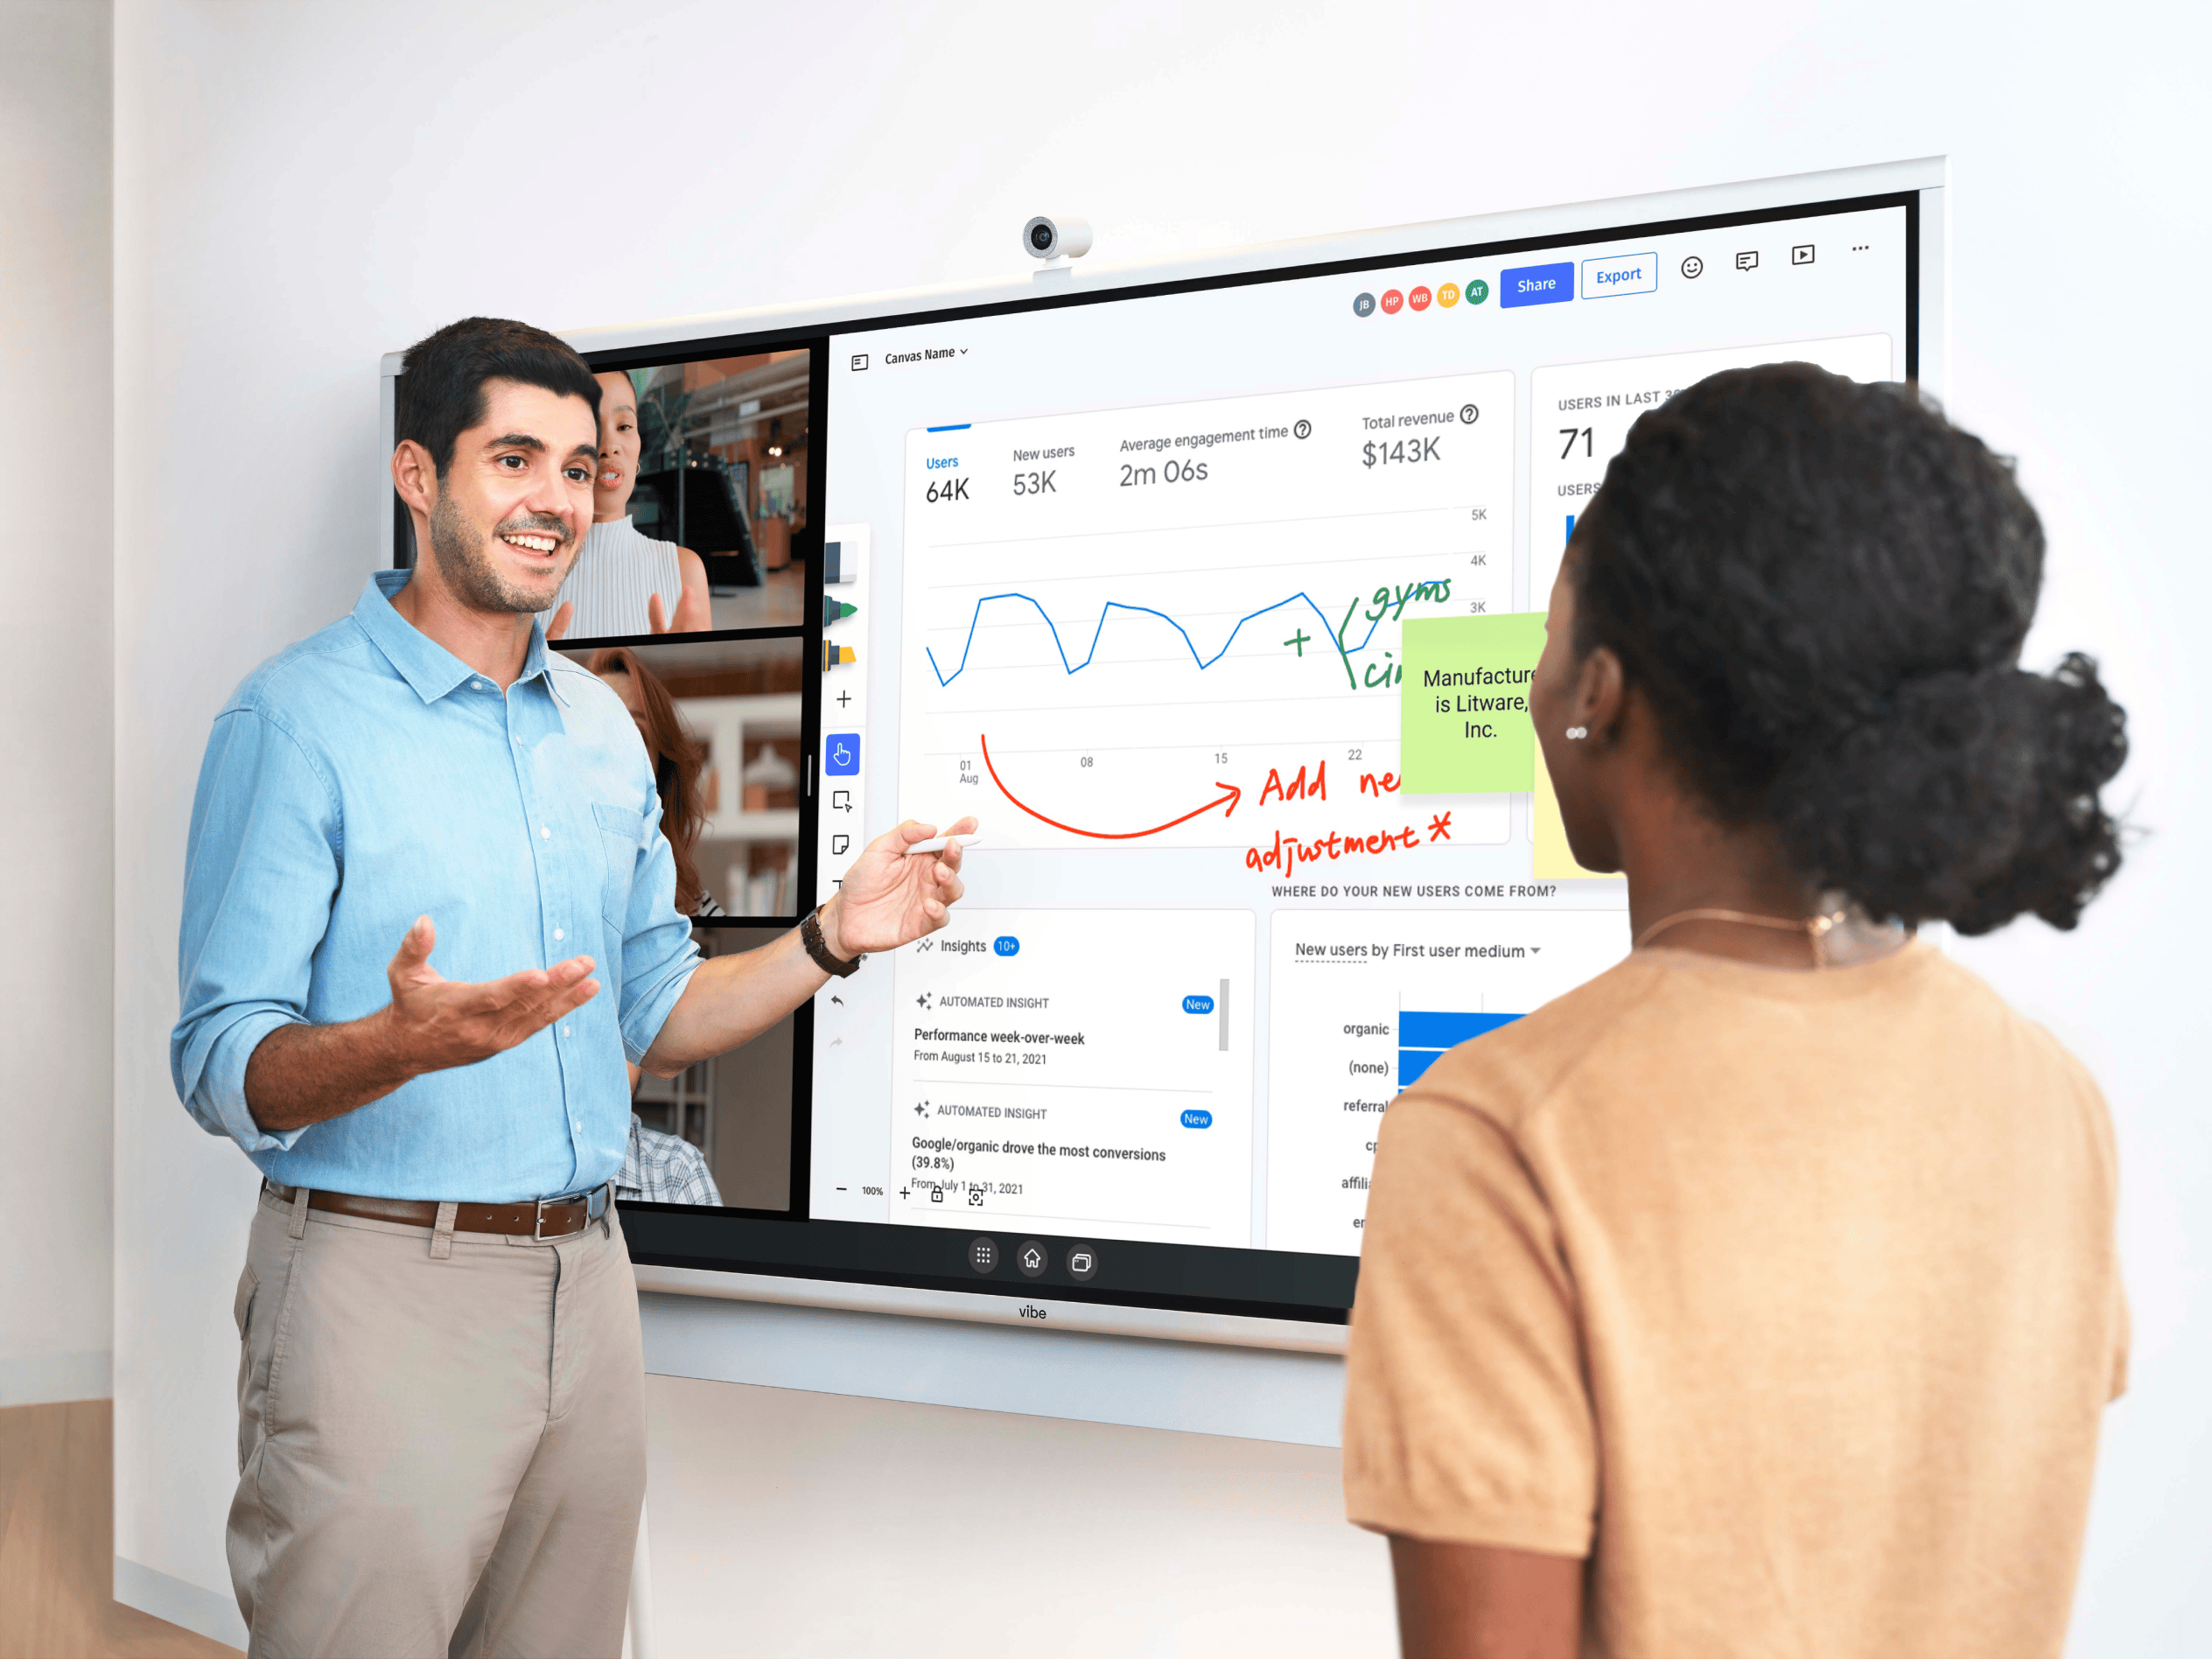
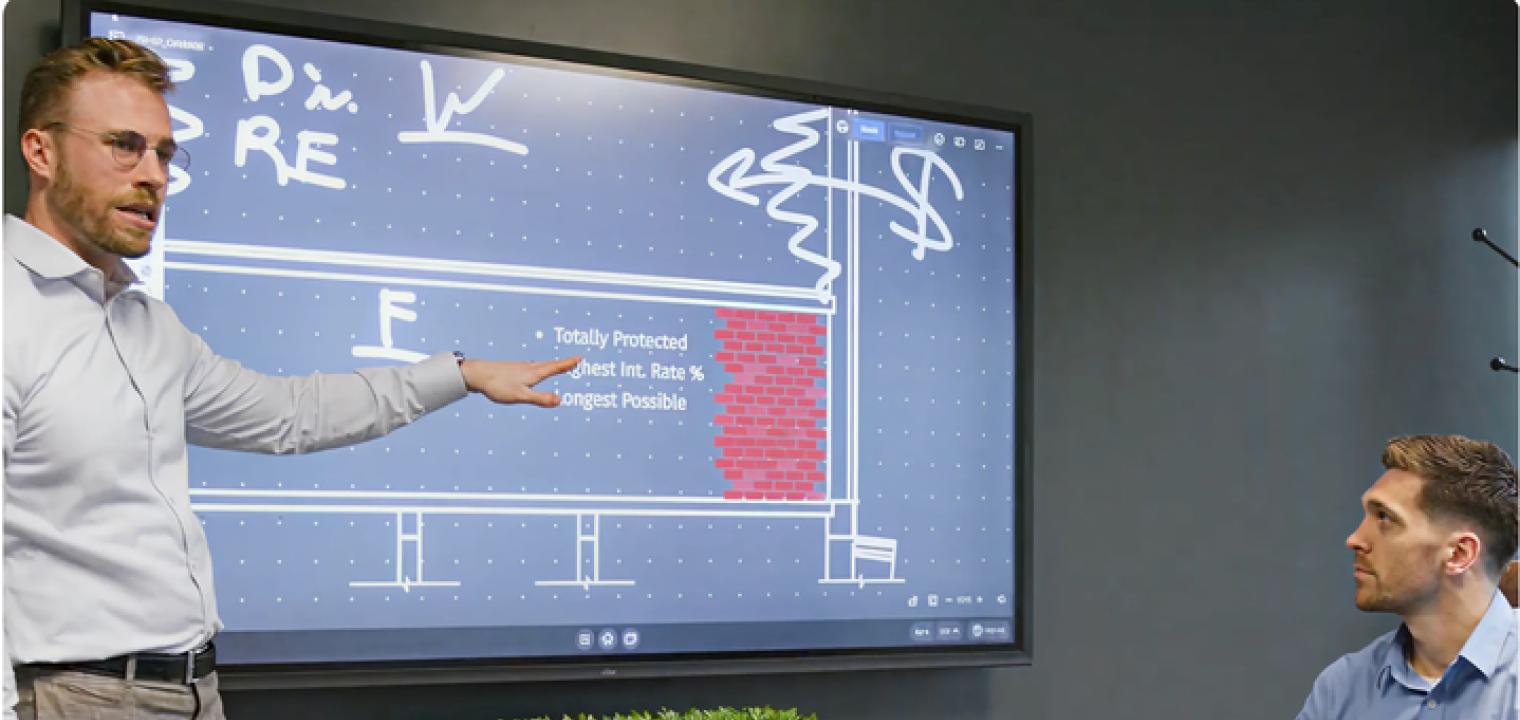 Team using a Vibe Board to visually present and analyze data.
Example 4: Q&A
A focused Q&A turns a one‑way presentation into a conversation by inviting the audience to build clarity through questions. Set expectations early: when Q&A will happen, how to submit, and how questions are prioritized. In larger groups, use a moderator to group similar questions, keep the queue moving, and ensure diverse voices are heard. Restate each question for context, answer concisely, and flag any follow‑ups you’ll provide after the session. Timebox responses and end with a quick synthesis of themes and next steps to reinforce outcomes.
Example 5: Collaborative Whiteboarding
Collaborative whiteboarding turns audiences into contributors through shared sketching, mapping, and annotation in real time. Use frameworks like mind maps, journey maps, or SWOT to channel input productively, then group ideas with sticky notes, shapes, and color-coding. Templates keep sessions focused, while timers and lightweight voting narrow options quickly. Capture screenshots or export boards to create durable work that can be refined later. This co‑creation approach drives engagement, accelerates alignment, and surfaces collective knowledge.
Essential Tools for Multimedia Presentation Building
There are lots of different tools you can use to design your multimedia presentation and even create new media. While many tools are similar, it’s important to note that some are more advanced than others. Make sure you know your skill limitations ahead of time and select only the tools you feel comfortable using.
Here are four of the most common tools for building a multimedia presentation.
1. PowerPoint, Google Slides, Keynote
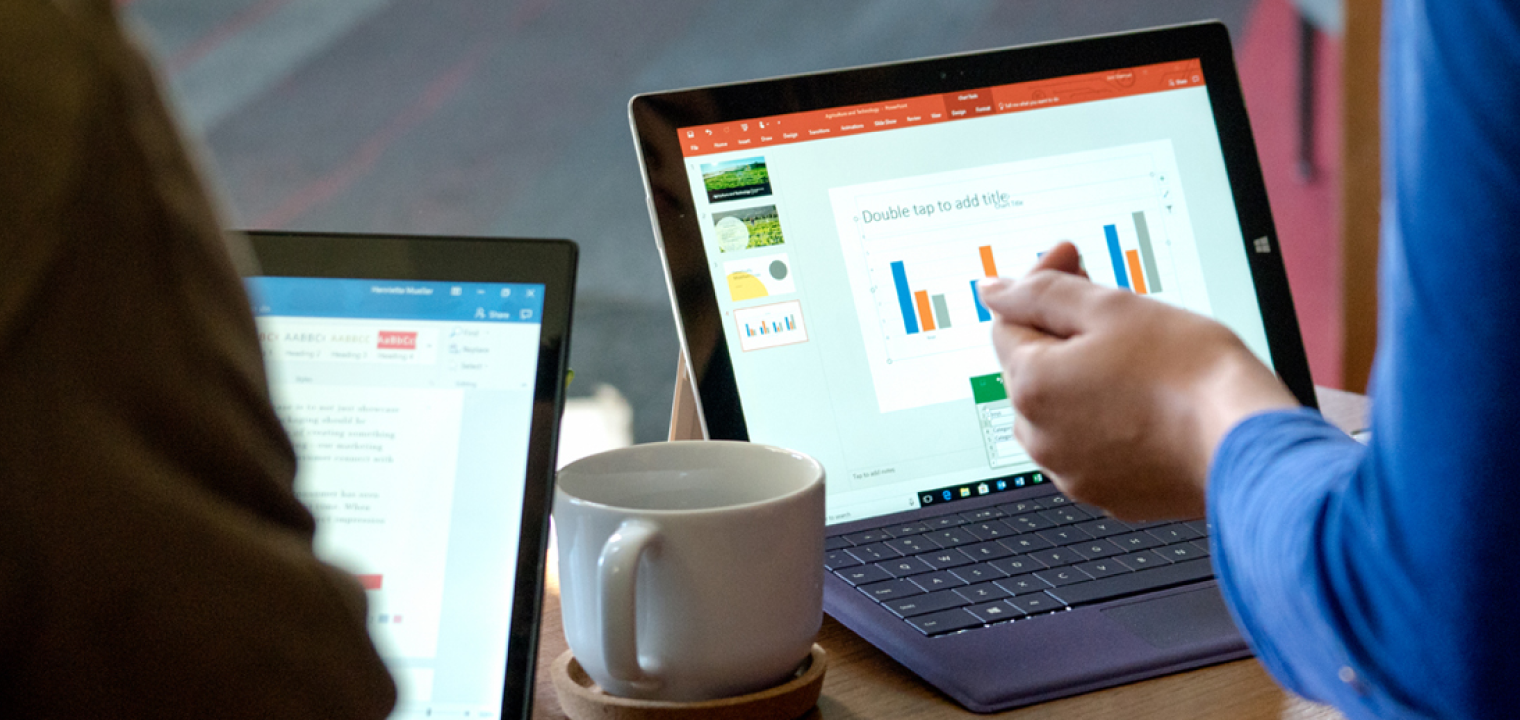
All three of these tools are the gold standard for creating a slide-deck style multimedia presentation. Similar in design and features, the differences between these three programs are subtle, and the only reason to use one over the other would be based on what you have access to and experience with.
One of the biggest benefits of using any of these three programs is that they’re all easy to use. If you’re a beginner, you can select from a variety of pre-made templates and drag and drop your media directly into your slides.
As a bonus, these three programs also have features, allowing you to animate objects, embed an image or video, attach a quiz and more. Presentations in these programs are all also easy to export and share, so your audience can review your presentation whenever they need a refresher.
2. Adobe Creative Cloud
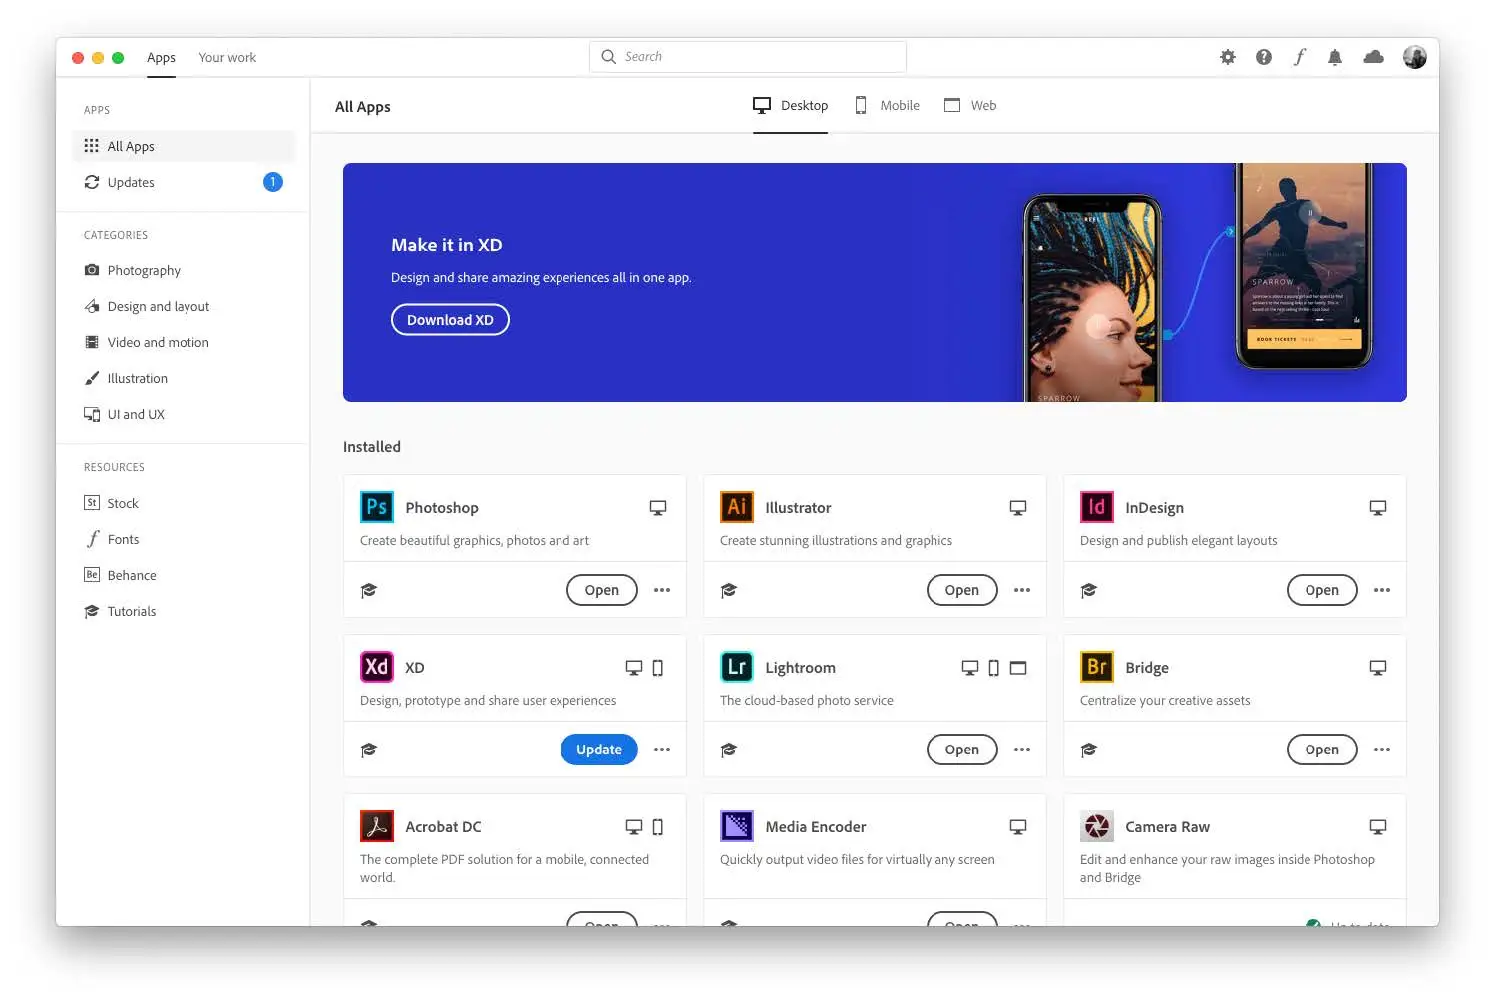
Adobe Creative Cloud is more advanced enterprise software and will require some additional knowledge or training. The suite includes software for creating or editing images, videos, pdfs, animations and more. The biggest benefit of Adobe Creative Cloud is that all of the different products can be used interchangeably. For example, if you’re working on a video presentation in Adobe Premiere, you can seamlessly import an animation or motion graphic you created in Adobe After Effects directly into your video project file.
3. Canva
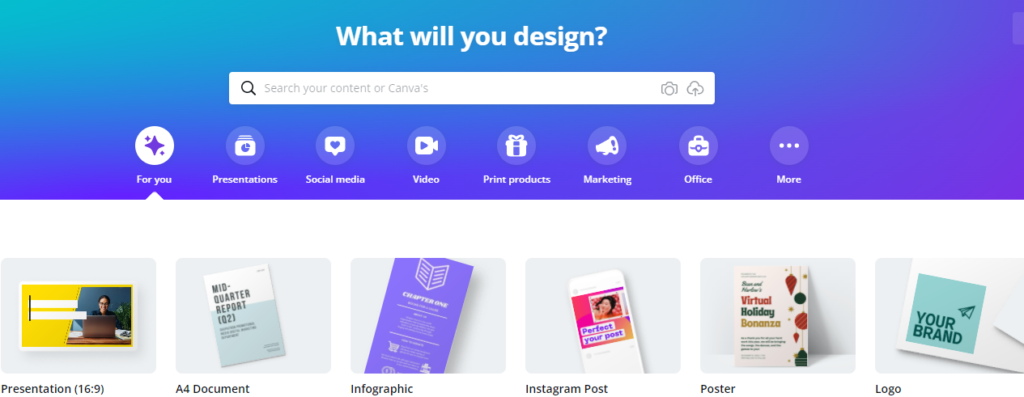
Canva is a cloud-based, multi-purpose design platform for presentations, videos, social posts, documents, and simple websites. It’s built for non-designers and teams, offering an extensive template and stock media library, real-time collaboration, brand kits, and AI helpers (e.g., copy, design, and image tools).
Multimedia presentations support slide templates, video and audio, basic animations, screen and camera recording, and shareable or downloadable formats. Compared with pro creative suites, Canva trades deep, granular control for speed and consistency; compared with PowerPoint, it emphasizes easy visuals and collaboration over advanced features. Free and paid tiers are available.
4. Data Visualization (Tableau and Power BI)
While many of the tools above have some sort of basic data visualization functionality, there are tools out there specially designed for more advanced applications and audiences.
Tableau is an advanced analytics and data visualization platform used to explore, analyze, and share insights from complex datasets. It excels at interactive dashboards, rich chart types, and features like parameters, actions, and storytelling to guide audiences through findings. Common in data science and BI teams, it connects to many data sources, supports governance at scale, and enables both self‑serve exploration and embedded analytics within products or portals.
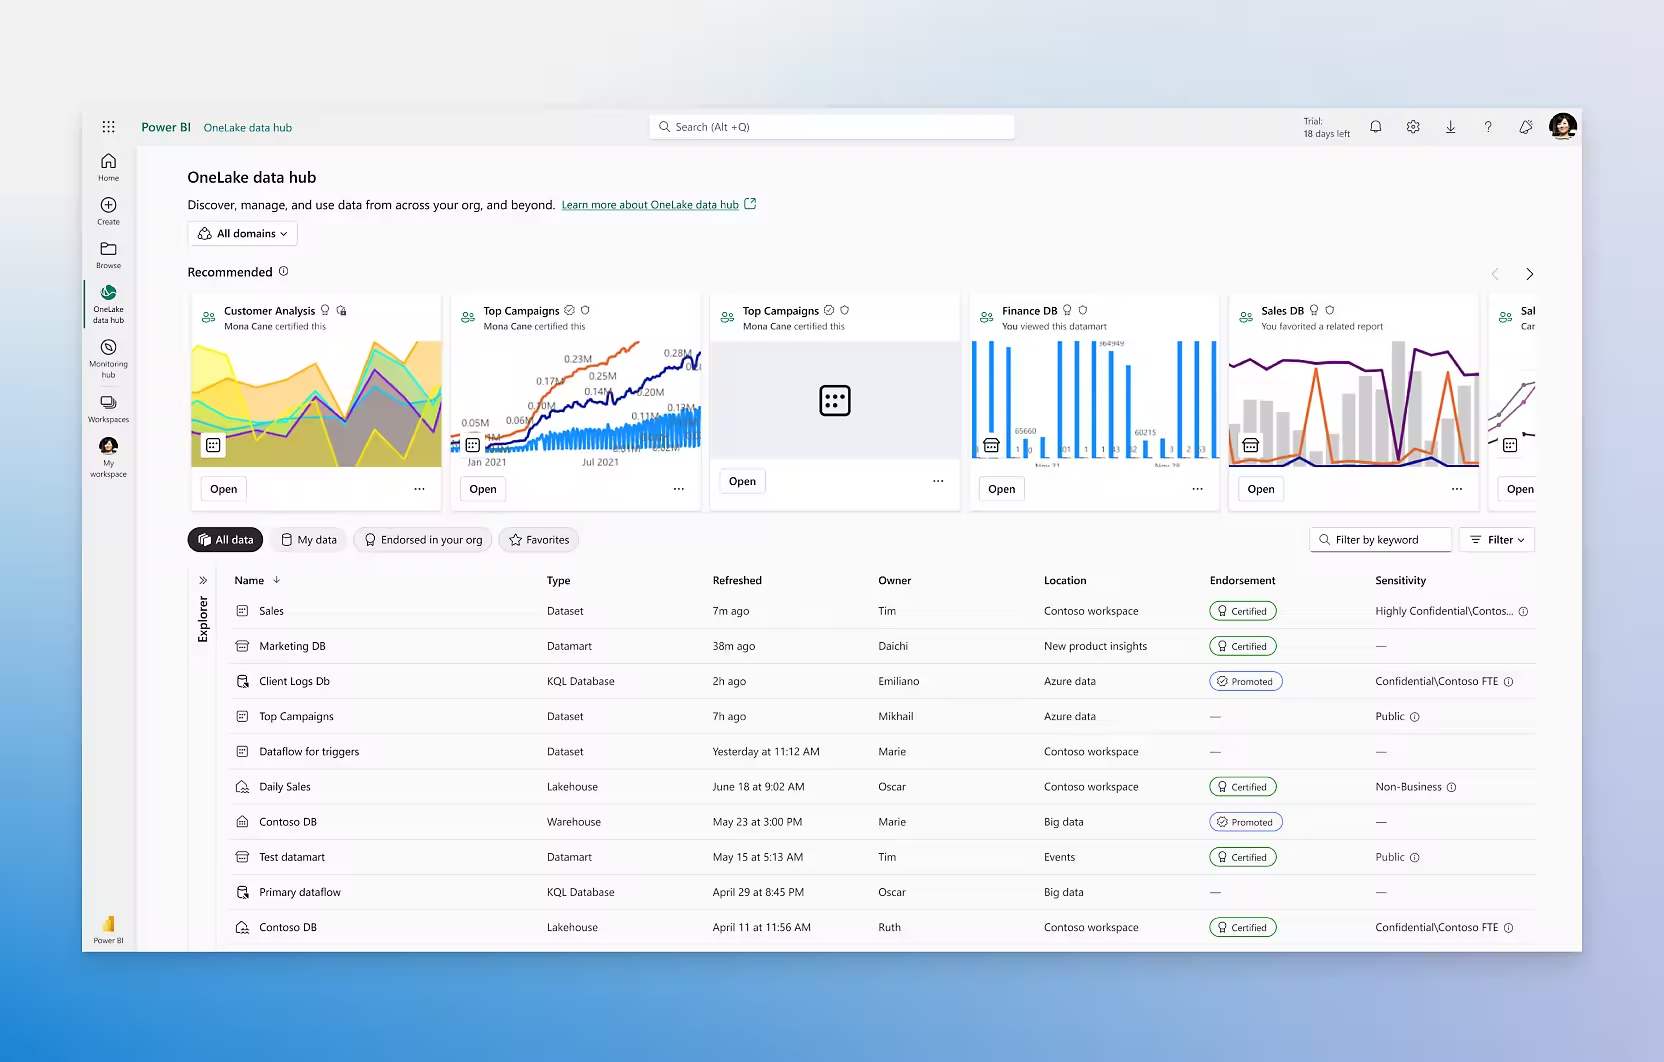
Power BI is Microsoft’s business intelligence suite that integrates tightly with Excel, Teams, Azure, and the Microsoft ecosystem. It offers data modeling, automated refresh, and secure sharing via the cloud—often at a lower total cost for organizations invested in Microsofts tools. While highly capable for enterprise BI, its strengths include collaboration in Microsoft workflows and streamlined use across M365 software.
Both tools have similar features and provide a variety of visualization options, so you can present data in a way that allows your audience to analyze effectively or clearly see important insights.
5 Steps for Creating a Multimedia Presentation
Overall, creating a multimedia presentation is similar to planning and designing any other type of presentation with a shift in focus and intent.
Here are five key steps to crafting a multimedia presentation:
-
Frame your story.
-
Create an outline.
-
Choose your tools.
-
Start building and add media.
-
Revise and edit.
Let’s dig into these steps a bit more.
Step 1: Frame Your Story
In this Harvard Business Review article—which breaks down the process of developing a TED Talk—writer and TED curator Chris Anderson suggests starting with framing.
Planning out your journey is exactly where Anderson suggests the first part of any multimedia presentation planning should begin. Why? Because it forces you, the presenter, to think critically about who your audience is and what level of knowledge they may or may not have regarding your topic.
Anderson’s other piece of advice on framing your story is to limit your scope. While you might have a ton of information you want to share, it’s important to narrow down your topic to only the things that can be explained, with particular attention to the things that can be explained and reinforced with different types of media.
Step 2: Create an Outline
Once you have your concept and a rough idea of your journey in mind, it’s time to organize it into an multimedia presentation outline. Think of your outline as a way to break down your topic into smaller, digestible pieces.
Once your outline is finished, it’s time to go back and make conscious note of any items that would benefit from additional media.
Here are a few examples of things to consider:
-
Do you have large amounts of numbers you can visualize with an animated graphic?
-
Is there a picture you can display to bring context to something you’re talking about?
-
Do you have access to videos that show a theory or concept you’re talking about?
-
Are there any product videos available that show your product in use?
These are only a few examples of areas where different types of media can help reinforce your point or act as engagement pieces if you’re in a more collaborative presentation setting.
Step 3: Choose Your Tools
Once you have picked a platform for your presentations, you’ll want to decide which tools will help incorporate multi media elements. Selecting the correct tools can make multimedia presentation building easier and help you bring your presentation to a new level.
As with all tools, be sure you’re familiar with the program you’re working with before you get started. If you’re not familiar with the program, check to see if you can find any resources to get up to speed on the basics, or reach out to a colleague or teammate to get assistance.
Step 4: Start Building and Add Media
Now that you have your outline and you’ve selected the tools you’re going to use to build your multimedia presentation, it’s time to get started!
Use your outline to guide the creation of your multimedia presentation. For example, if you’re going to create a slide deck style presentation, begin populating your slides with necessary headers to guide your presentation from one section to the next. Focus on building in the most important aspects of your presentation first, then support the ideas with multimedia that enhances your story.
It might be helpful to quickly build out the rough design of your slide layout and create boxes or placeholders where you’d like to add media. Once you’re finished, go back and add the different types of media to your slides.
Step 5: Revise and Edit
This often overlooked step is one of the most important steps in any presentation design process, not just multimedia presentation creation.
Think of it this way: Once you finish your presentation, consider it your first draft. Step away, take a break, and then return with fresh eyes to review your original outline and ensure your transitions are effective. It can be helpful to get another pair of eyes on your presentation, or practice in front of a team member to catch anything that isn’t quite working.
As a final note, don’t forget to check for typos and grammatical errors. There’s nothing worse than being mid-presentation and realizing, or being alerted to, a avoidable silly mistake that you could have easily fixed.
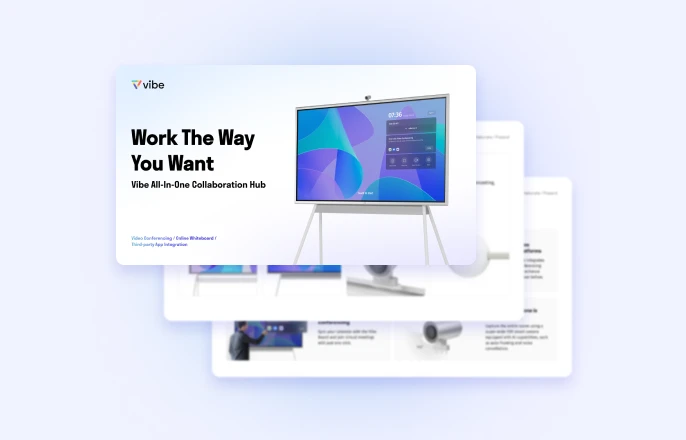
Enhance Your Multimedia Presentations with Vibe Board S1
Creating and delivering a great multimedia presentation takes time and effort. But with the right tools the process can be enjoyable and straight-forward.
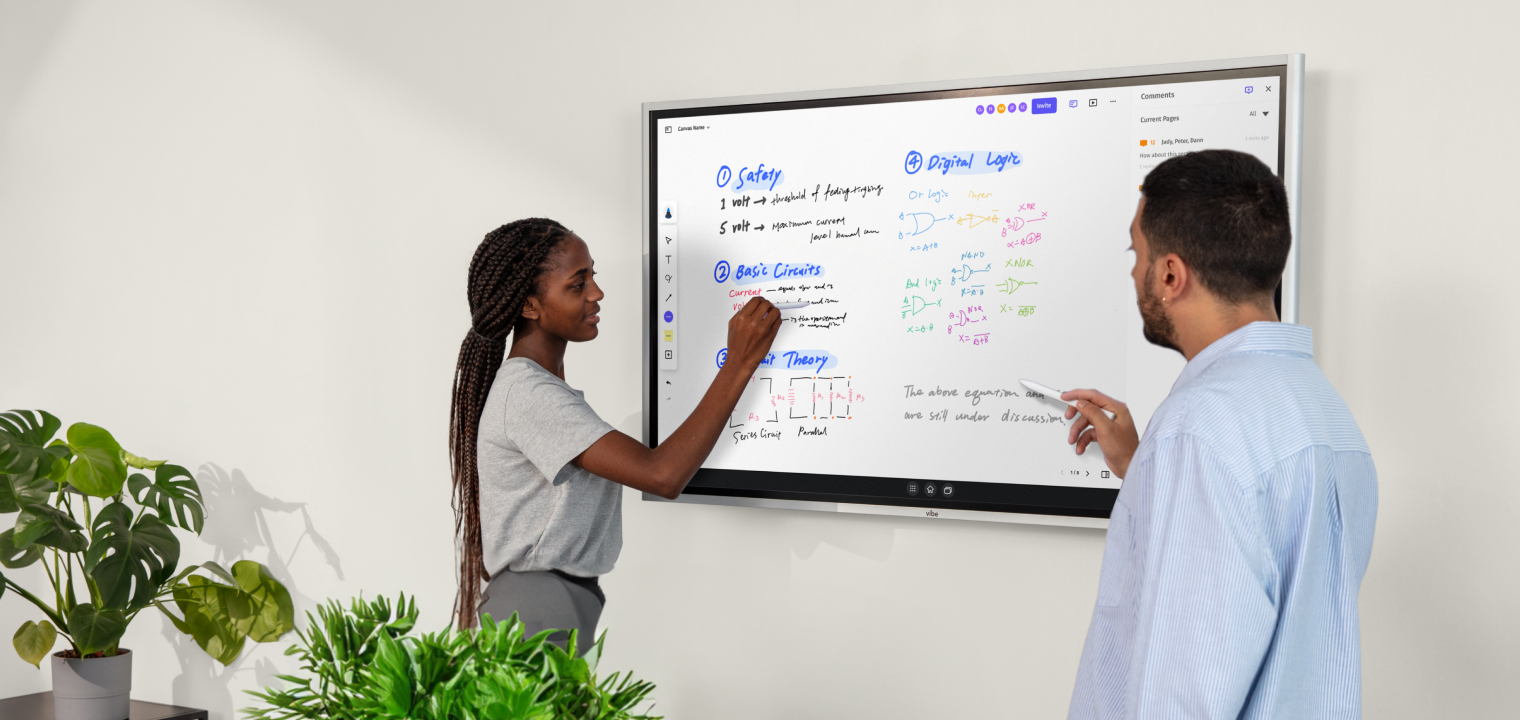
The Vibe Board S1 is purpose build to make presenting with multimedia smoother. With precise drawing and on‑screen annotation, it’s easy to highlight key moments, mark up slides, and keep attention on what matters. Presenters can advance slides, play embedded videos, and interact with content using touch for a natural flow.
The digital whiteboard, Vibe Canvas, enables real‑time participation from the audience’s personal devices, so everyone can add notes, reactions, and questions directly to the presentation board (which can be easily joined from any device with a simple shareable link). Built‑in video conferencing support and split-screen functionality mean teams can meet, present, and co‑create in the same workspace—on‑site or remote.
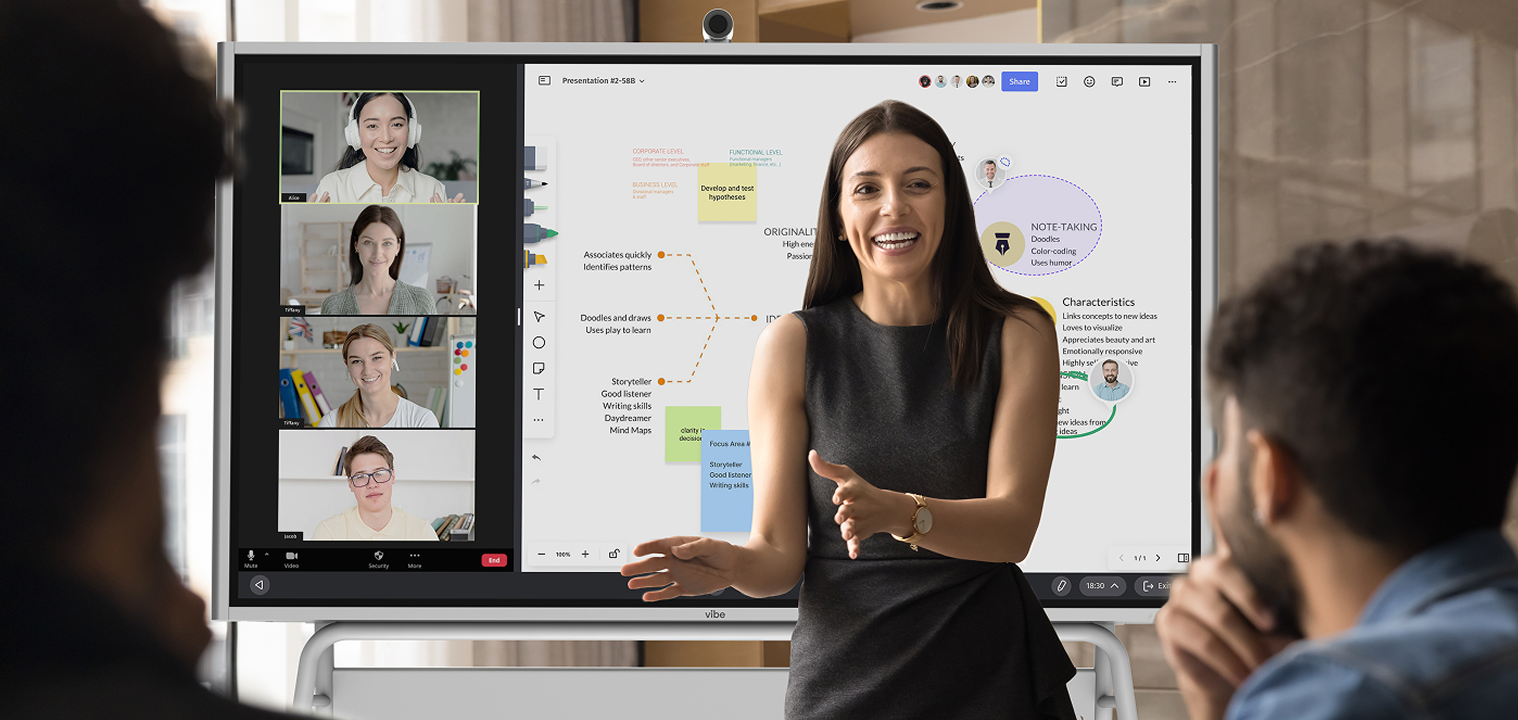 Woman using a Vibe Board to deliver an interactive multimedia presentation.
Vibe integrates with over 250 applications—PowerPoint, Canva, Adobe, and many more—so existing slides, files, and media just work. That open ecosystem lets teams combine slides, video, whiteboarding, and live feedback without switching devices or breaking the presentation rhythm.
Request a demo and experience how Vibe Board S1 can elevate your next multimedia presentation end‑to‑end.
Multimedia Presentation FAQs
What are the 5 steps of a multimedia presentation?
1. Define the objective and audience, then 2. frame a clear story arc. 3. Create an outline to map content and decide where each media type adds value. 4. Choose your tools, build with media, and 5. revise for clarity, pacing, and accessibility.
What are common types of multimedia?
Common in multimedia presentations: Text and images form the core, supported by audio narration and music. Video and animations add motion for demonstrations and storytelling. Interactive elements like quizzes, data visuals, Q&A, and whiteboarding drive engagement.
Is a PowerPoint a multimedia presentation?
A PowerPoint can be a multimedia presentation if it integrates multiple media types, such as video, audio, animations, and interactive elements. A simple deck with only static text and images is not inherently multimedia. It becomes multimedia when varied media are used purposefully to enhance communication and engagement.


-1sbltxxq4FYxHrXrwJVLsCDNsXpqNa.webp)
-5Zp0pmSytvcuYDVs1LvuwplKuRneK0.webp)