
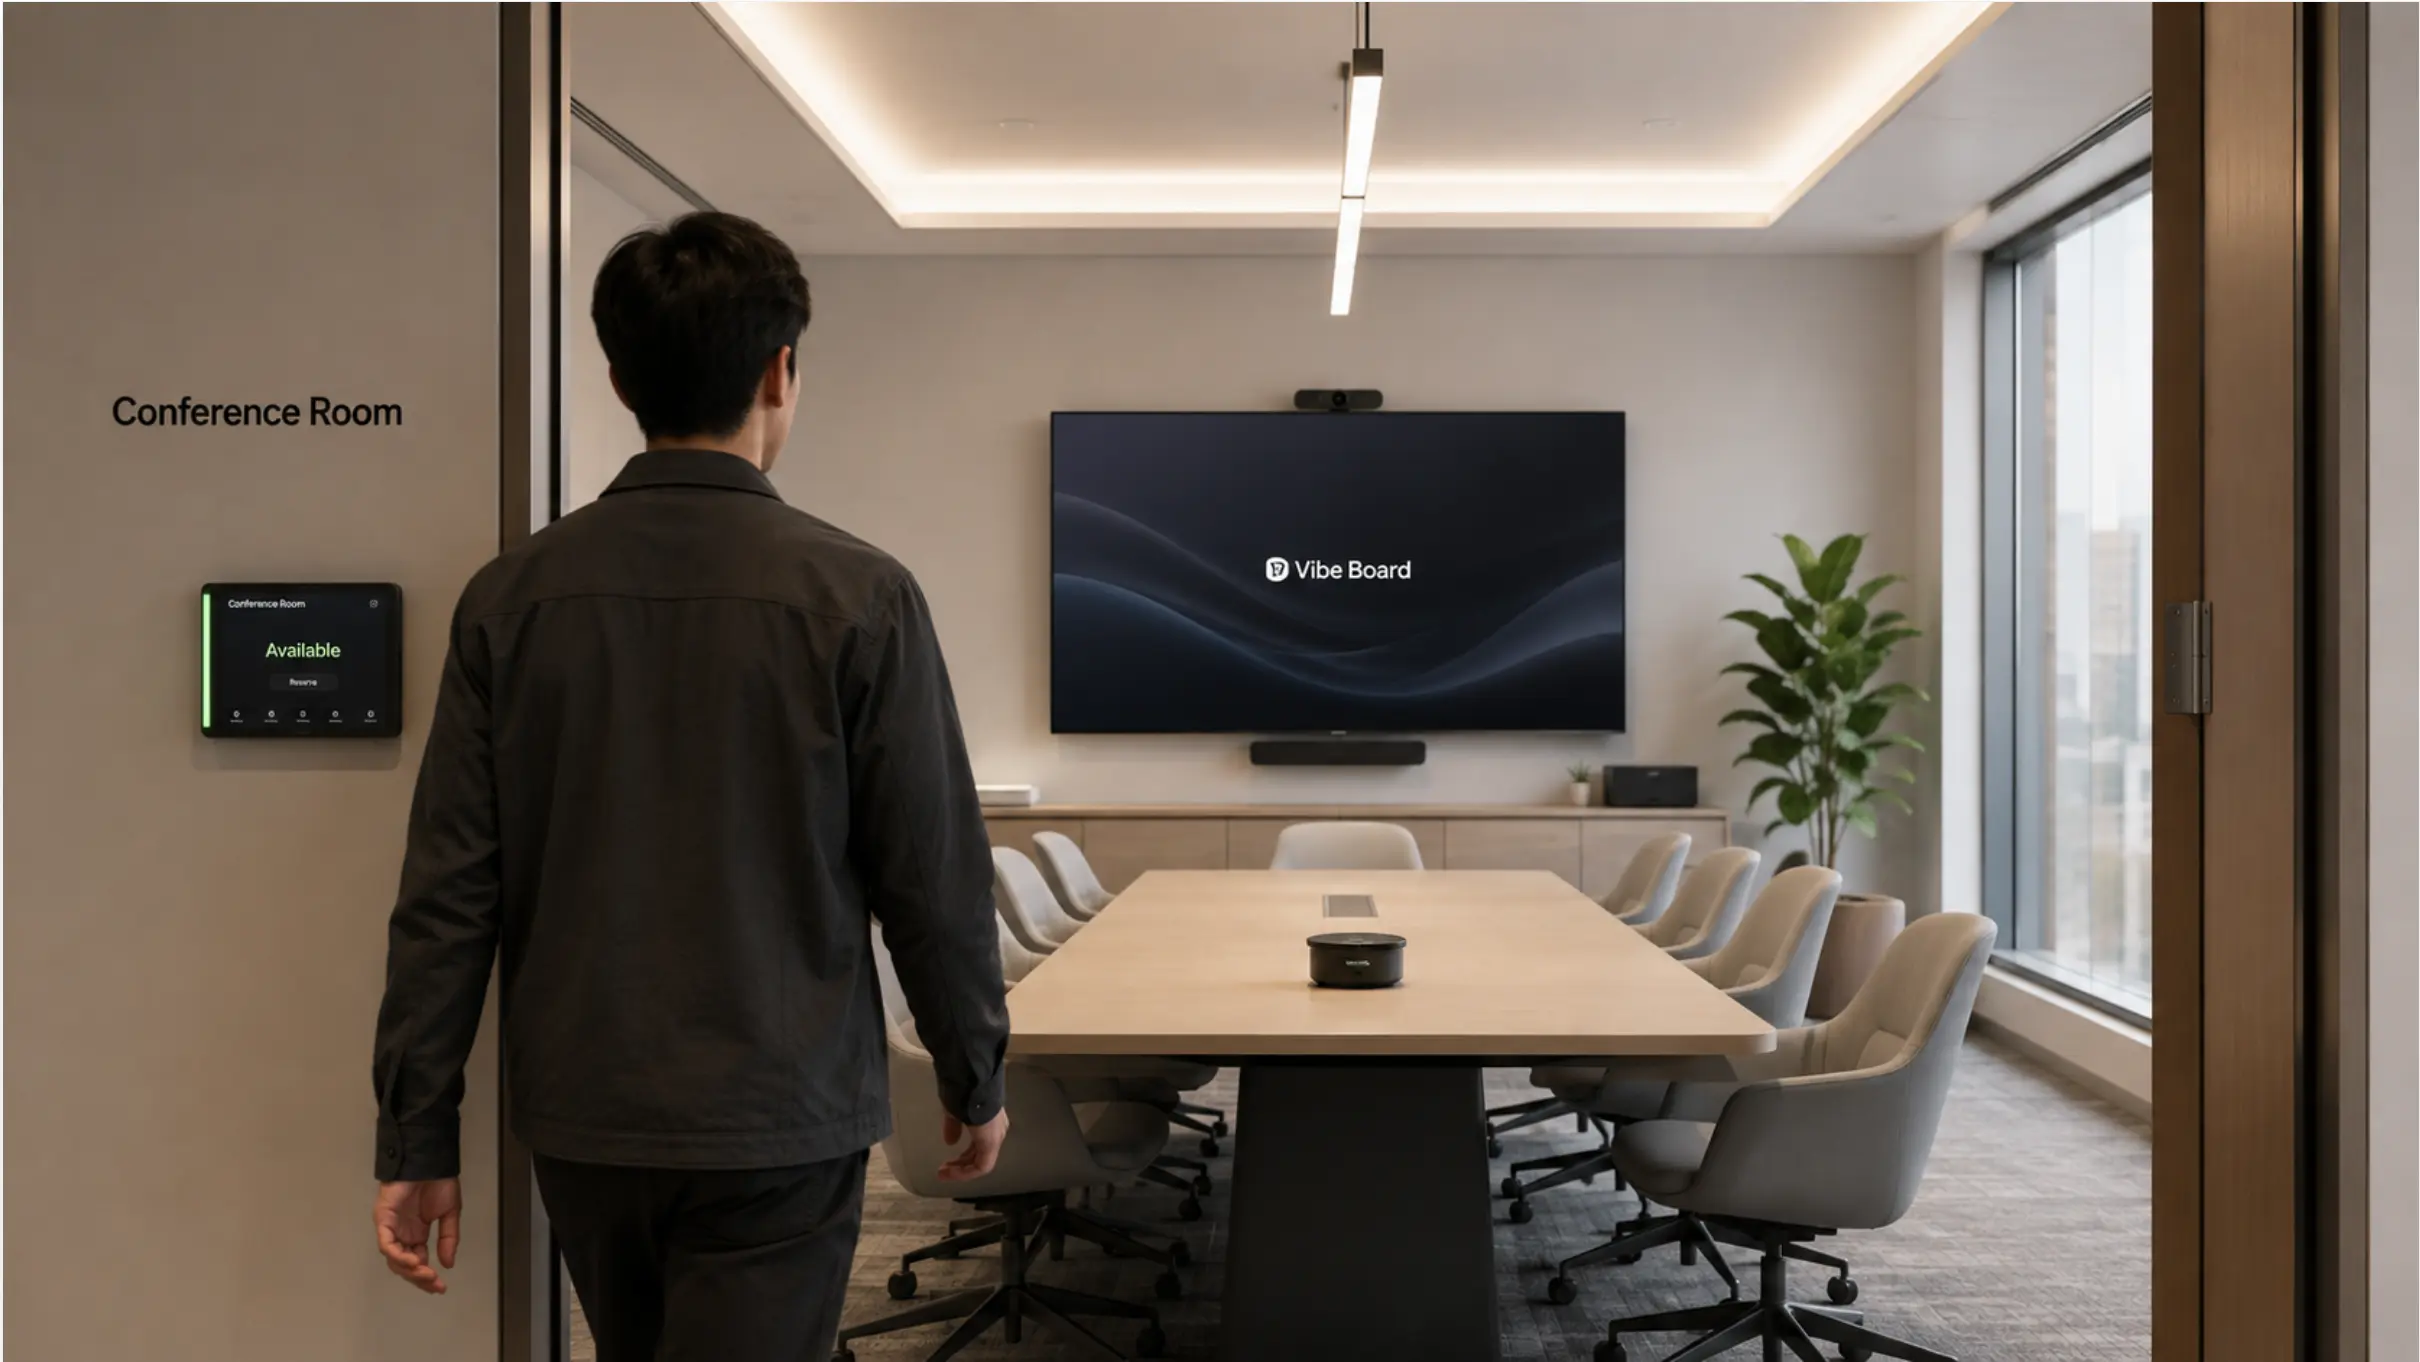
Here’s what a good conference room AV setup actually feels like: someone walks in two minutes before the meeting starts, taps a button, and is live on Zoom with the agenda already on screen. No adapter hunting. No "can everyone hear me?" No IT ticket filed afterward.
That experience doesn’t happen by accident. It’s the result of a deliberate set of component decisions — display, camera, audio, platform integration, and collaboration software — that either reinforce each other or quietly fight each other. This guide walks through each of those decisions by room size, with real budget numbers and the tradeoffs worth knowing before you buy anything.
The Component Stack: What a Complete Conference Room AV Setup Includes
A conference room AV setup has six layers. Most buying mistakes happen when one layer gets over-specced while another is ignored entirely.
|
Layer |
What it does |
Common mistake |
|---|---|---|
|
Display |
Screen for presentations, video calls, shared content |
Buying before measuring room depth |
|
Camera |
Captures in-room video for remote participants |
Under-speccing for room depth |
|
Audio |
Microphone capture + speaker playback |
Treating this as an afterthought |
|
Compute unit |
Runs the conferencing software, manages I/O |
Choosing platform-incompatible hardware |
|
Platform integration |
How the room joins Zoom, Teams, Meet |
Often the biggest daily friction point |
|
Collaboration tools |
Whiteboard, annotation, async content sharing |
Skipped entirely in traditional AV setups |
|
AI layer |
Meeting recording, notes, cross-session memory |
Treated as a separate SaaS tool instead of built into the room |
Most traditional AV guides stop at layer five. We’ll cover all seven — because for hybrid teams, the last two layers are where meetings actually succeed or fail.
Step 1: Size the Room First
Room size determines everything else. Get this wrong and you’ll be replacing a display two years later because it can’t serve the back row.
Room tiers and baseline specs
|
Room type |
Seats |
Sq ft |
Min display size |
Camera type |
|---|---|---|---|---|
|
Huddle room |
2–4 |
100–150 |
55–65″ |
Wide-angle fixed |
|
Standard meeting room |
5–12 |
200–400 |
75–86″ |
AI auto-framing |
|
Large conference room |
12–20 |
400–700 |
86″+ or dual display |
PTZ or ceiling-mount |
|
Boardroom |
20+ |
700+ |
Projection or LED wall |
Multi-camera |
The display sizing rule: Display diagonal (inches) should be at least half the room depth (inches). A 15-foot-deep room needs at least a 90″ display for the back row to read a slide comfortably.
One thing worth flagging before you lock specs: if your team is growing and you’re setting up a new office, spec for where you’ll be in 18 months, not today. Replacing a 65″ display with an 86″ after the fact is expensive and disruptive.
Step 2: Audio First — Always
It’s almost never the display that kills a meeting. Screens fail visibly. Audio fails quietly — remote participants drop out of the conversation, voices get cut off mid-sentence, and the people in the room often don’t realize how bad it sounds on the other end until someone complains.
A 2025 Logitech hybrid work study found that 63% of hybrid workers encounter technology problems on their office days — audio issues consistently ranked as the top barrier to effective participation.
Microphone options by room size
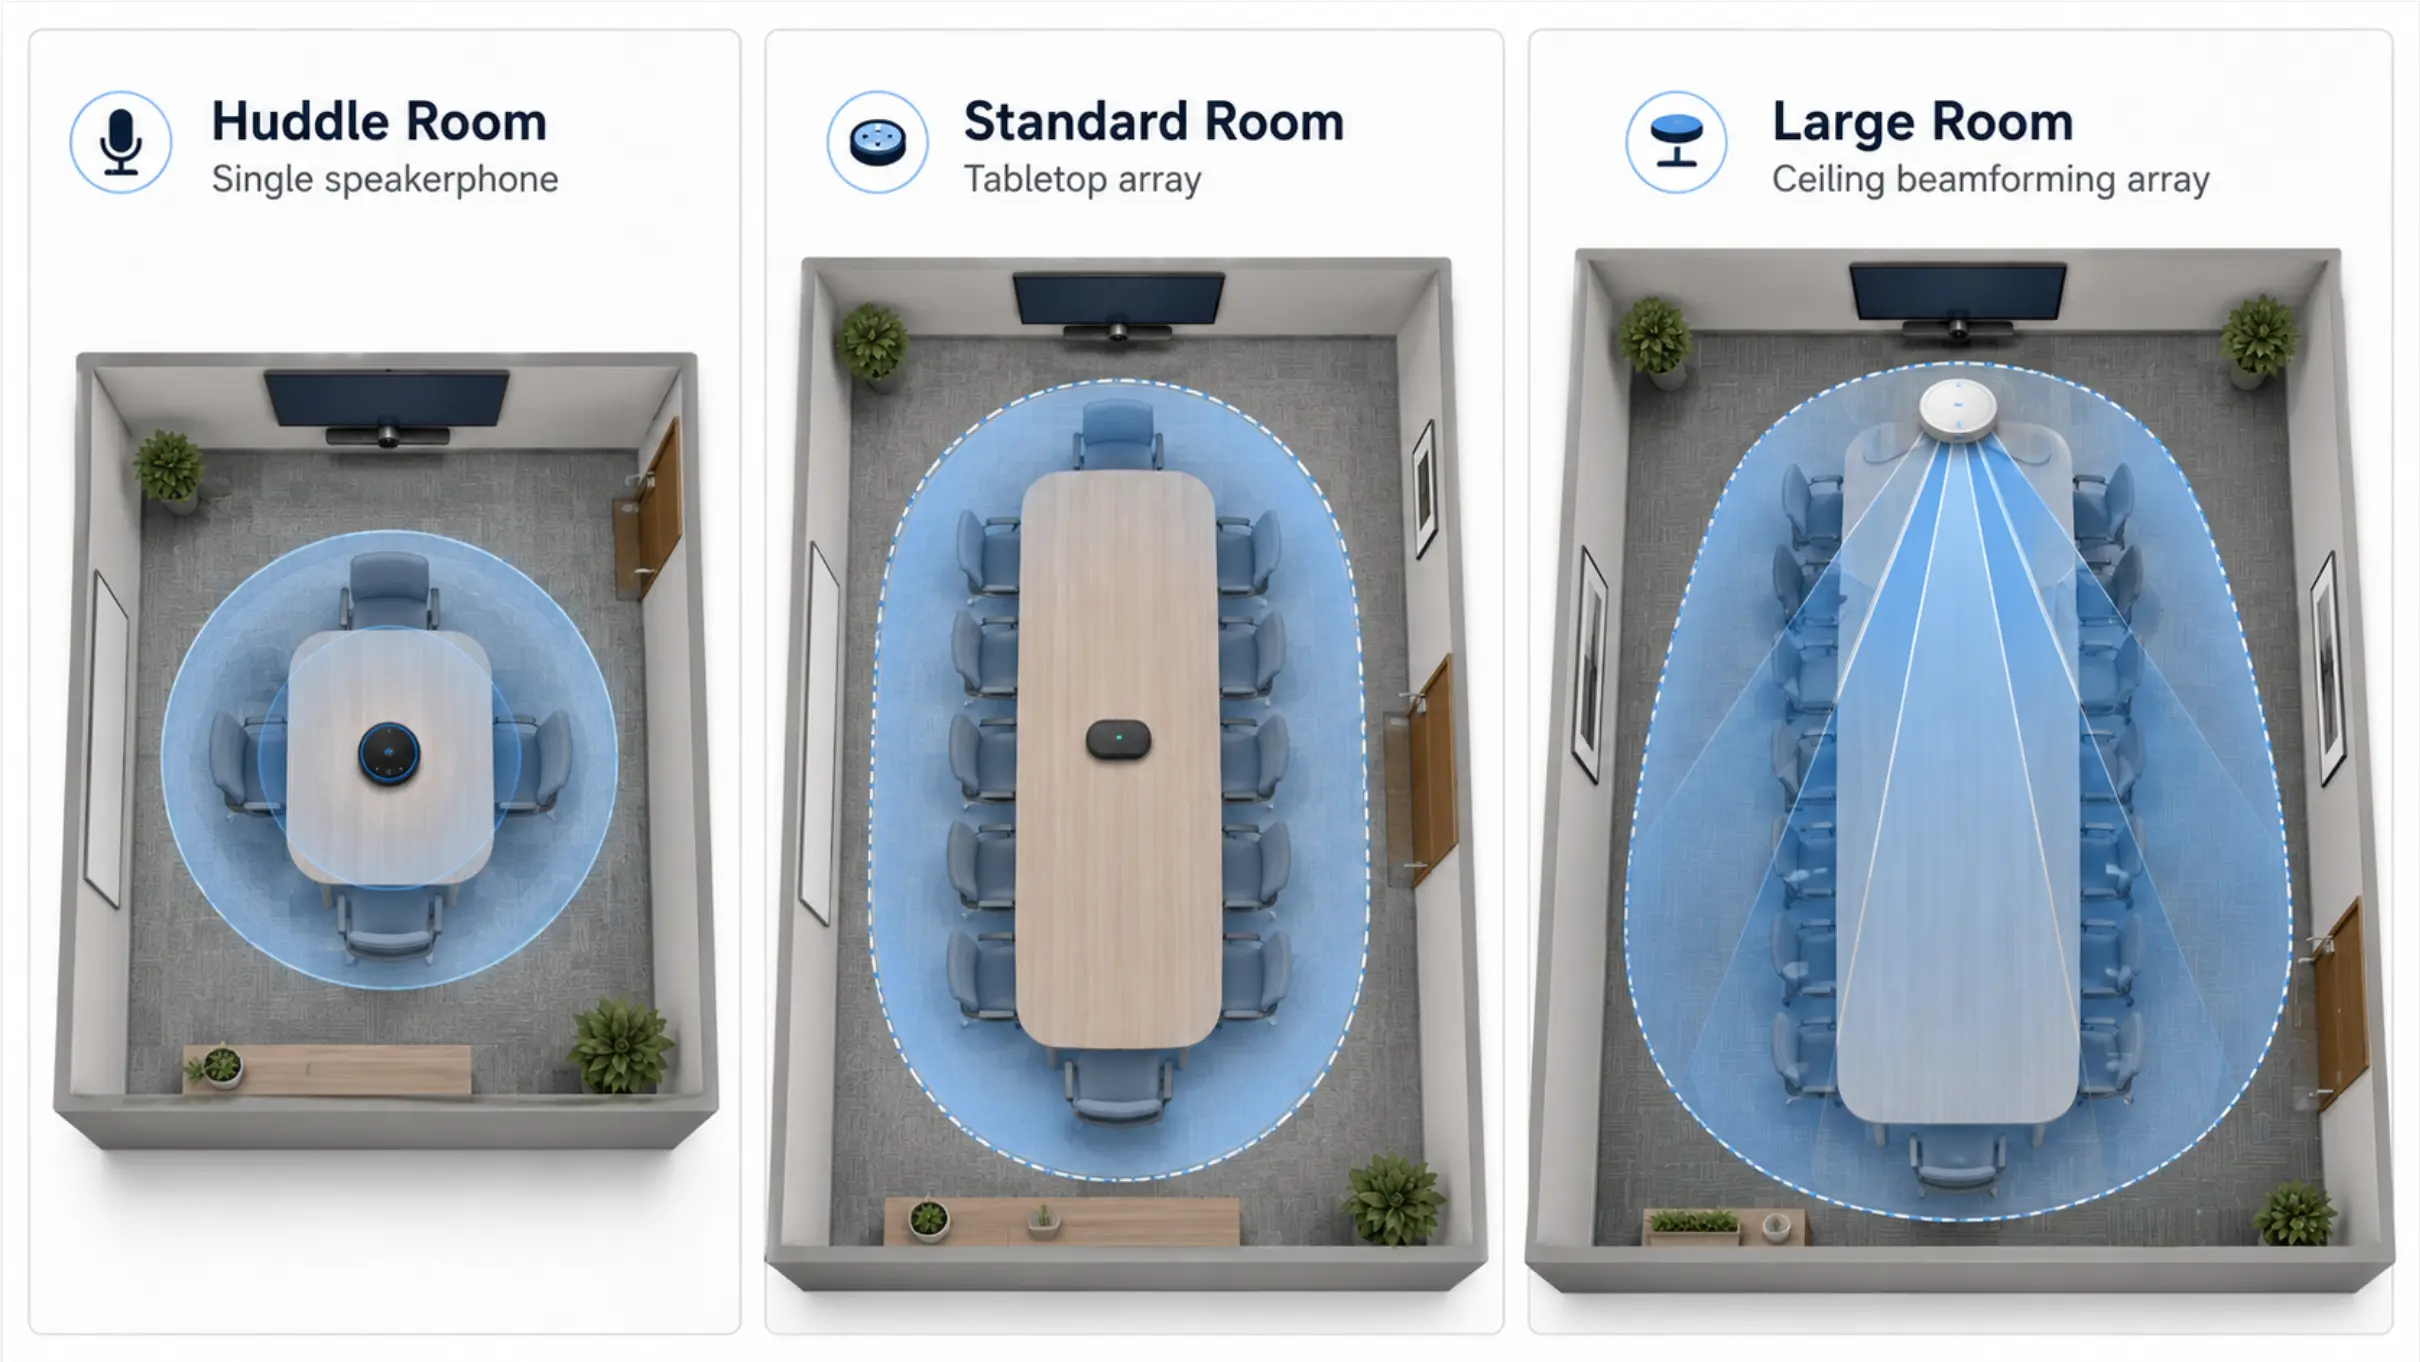
Huddle rooms: A single USB speakerphone (Jabra, Poly, Yamaha) handles both mic and speaker in one unit. Effective up to about 12 feet of room depth. Certified for Zoom and Teams. Simplest path.
Standard meeting rooms: Tabletop microphone arrays with dedicated DSP provide directional pickup across a full conference table. Echo cancellation happens in hardware, not software — more reliable across platform updates.
Large rooms and boardrooms: Ceiling-mounted beamforming arrays (Shure, Biamp) are the professional standard — invisible, no cable clutter, engineered for full-room coverage. Budget $3,000–$8,000 for the mic system alone at this tier.
One thing most guides skip: room acoustics
In rooms with hard floors, glass walls, and high ceilings, even a premium microphone will produce echo-heavy audio that software can’t fully suppress. Acoustic panels cost far less than replacing the audio system. If your room has parallel hard surfaces, assess the acoustics before buying hardware.
Step 3: Display and Camera
Display: what to look for
-
Resolution: 4K for any display 75″ and larger — 1080p shows at close viewing distances on big panels
-
Brightness: 400 nits minimum; 500+ for rooms with windows
-
Commercial vs. consumer: Commercial panels are rated for 16–24 hrs/day operation. Consumer TVs are rated for 4–8 hrs/day — this voids warranties in a conference room context
-
Interactive vs. passive: Interactive flat panels add touch input for annotation and whiteboarding. Cost 30–50% more than passive displays of the same size, but replace a separate whiteboard entirely
Camera: match the room depth
|
Room depth |
Recommended camera type |
Why |
|---|---|---|
|
Under 12 feet |
Wide-angle fixed |
Covers the room without needing to track |
|
12–20 feet |
AI auto-framing |
Tracks active speakers; fixed lens loses face detail at distance |
|
20+ feet |
PTZ or multi-camera |
Auto-framing struggles at extreme depth |
Placement: Camera should sit at or slightly above eye level relative to seated participants — mounting below the display creates an unflattering upward angle that reads poorly on video. Keep windows out of the background frame.
Step 4: Platform Integration — Where Most Setups Quietly Fail
This is the layer that traditional AV guides treat as an afterthought, but it’s where teams lose the most time day-to-day. Hardware certification matters, but the deeper question is: how smoothly does this room actually join a meeting?
Why certification matters
Each major platform has its own hardware certification program:
-
Zoom Rooms certified: One-touch join, auto-updates via Zoom Device Management, smart gallery layouts
-
Teams Rooms certified: Native calendar integration, front-row layouts, speaker tracking synced to transcription
-
Google Meet certified: Companion Mode, speaker highlighting, Google Workspace calendar sync
Using uncertified hardware means missing these features — and risking compatibility breaks after platform software updates, which happen frequently.
The integration problem that hardware certification doesn’t solve
Even with certified hardware, many conference rooms still require someone to manually launch a meeting, switch inputs, or find a cable before a call starts. In a company using multiple platforms across teams, this compounds — a room set up for Zoom Rooms often has a degraded experience for a Teams call, and vice versa.
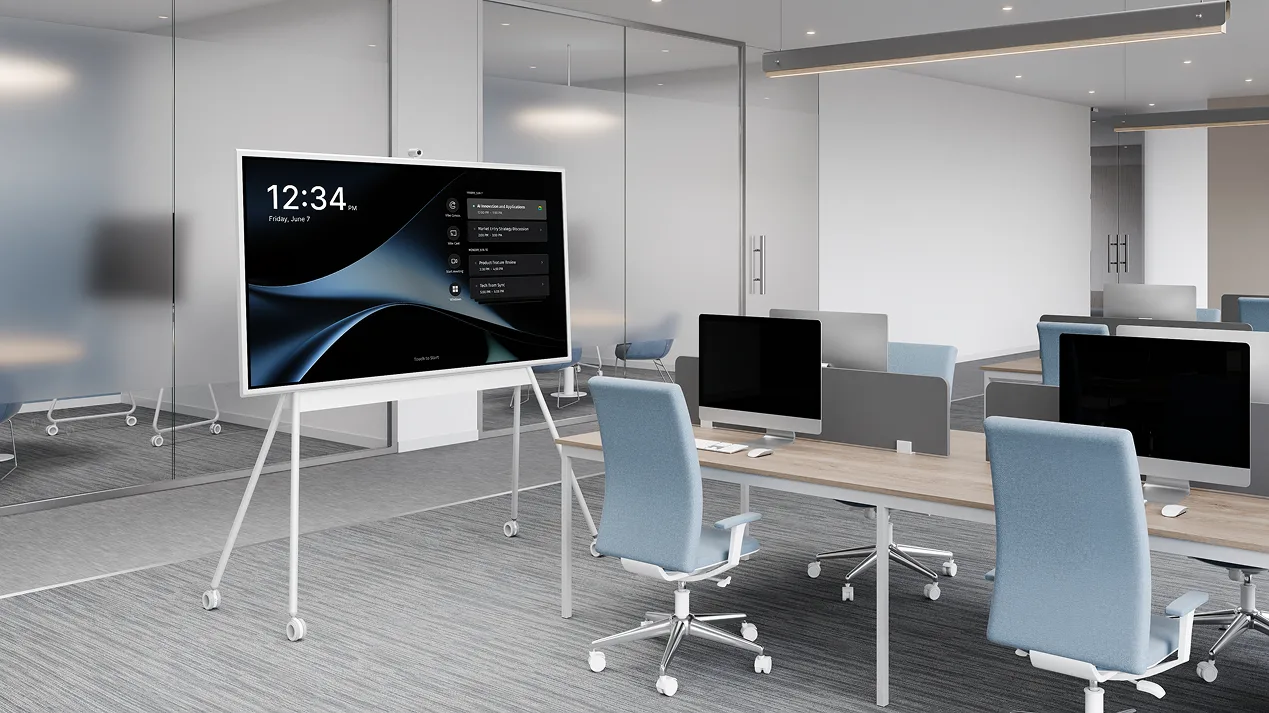
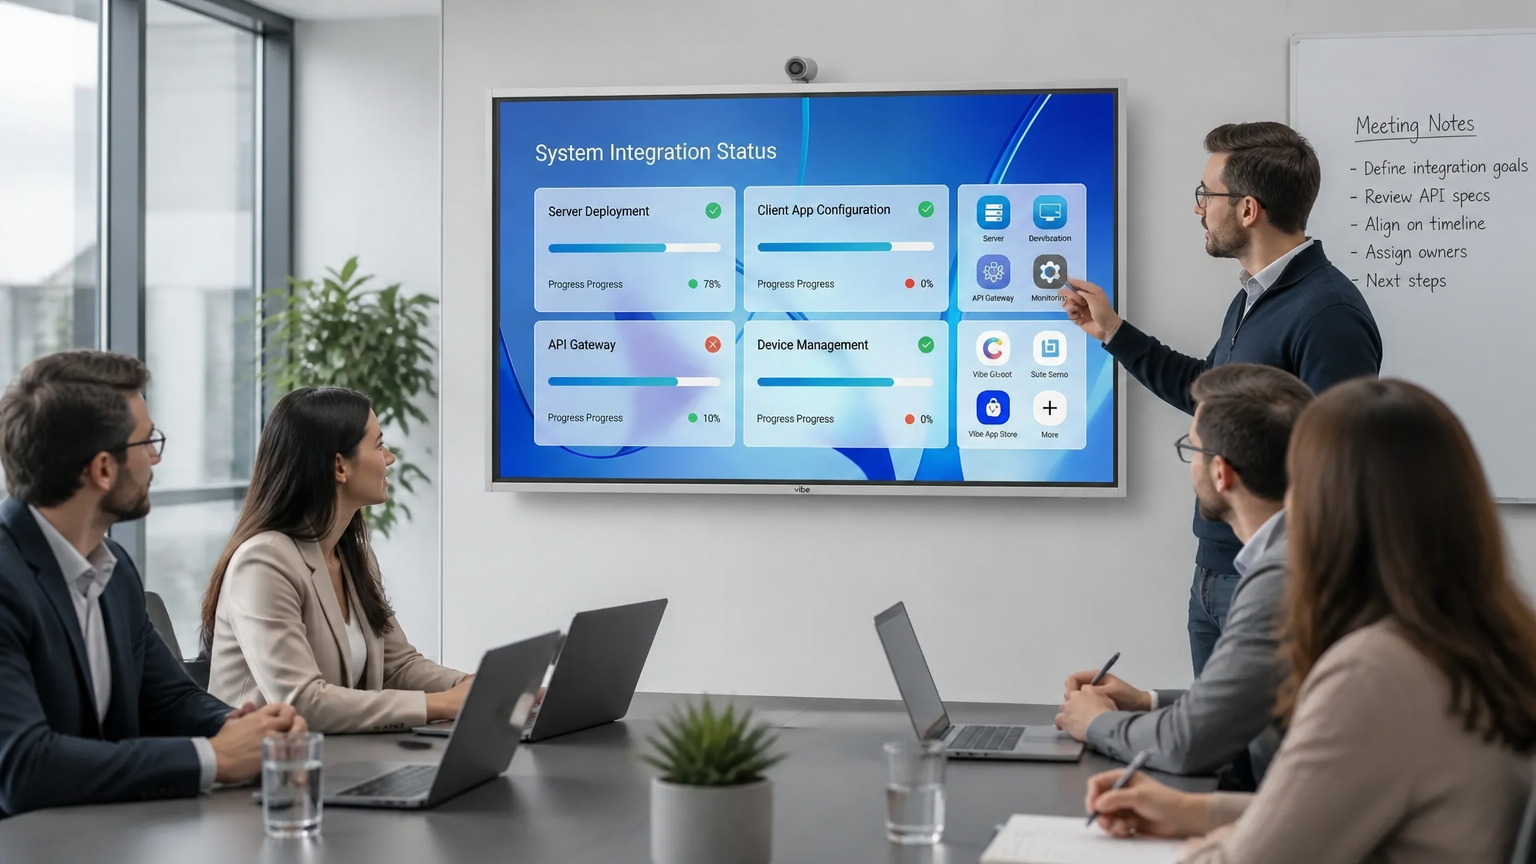
Vibe Board takes a different approach: rather than being certified for one platform, it natively supports Zoom, Teams, Google Meet, and 250+ additional app integrations through its open ecosystem. Switching between platforms doesn’t require a hardware reconfiguration or a control system preset — it’s the same one-tap experience regardless of which platform the meeting is on. For teams that mix platforms across departments, this removes a category of friction that certified single-platform hardware can’t.
Step 5: Collaboration — The Layer Traditional AV Setups Don’t Have
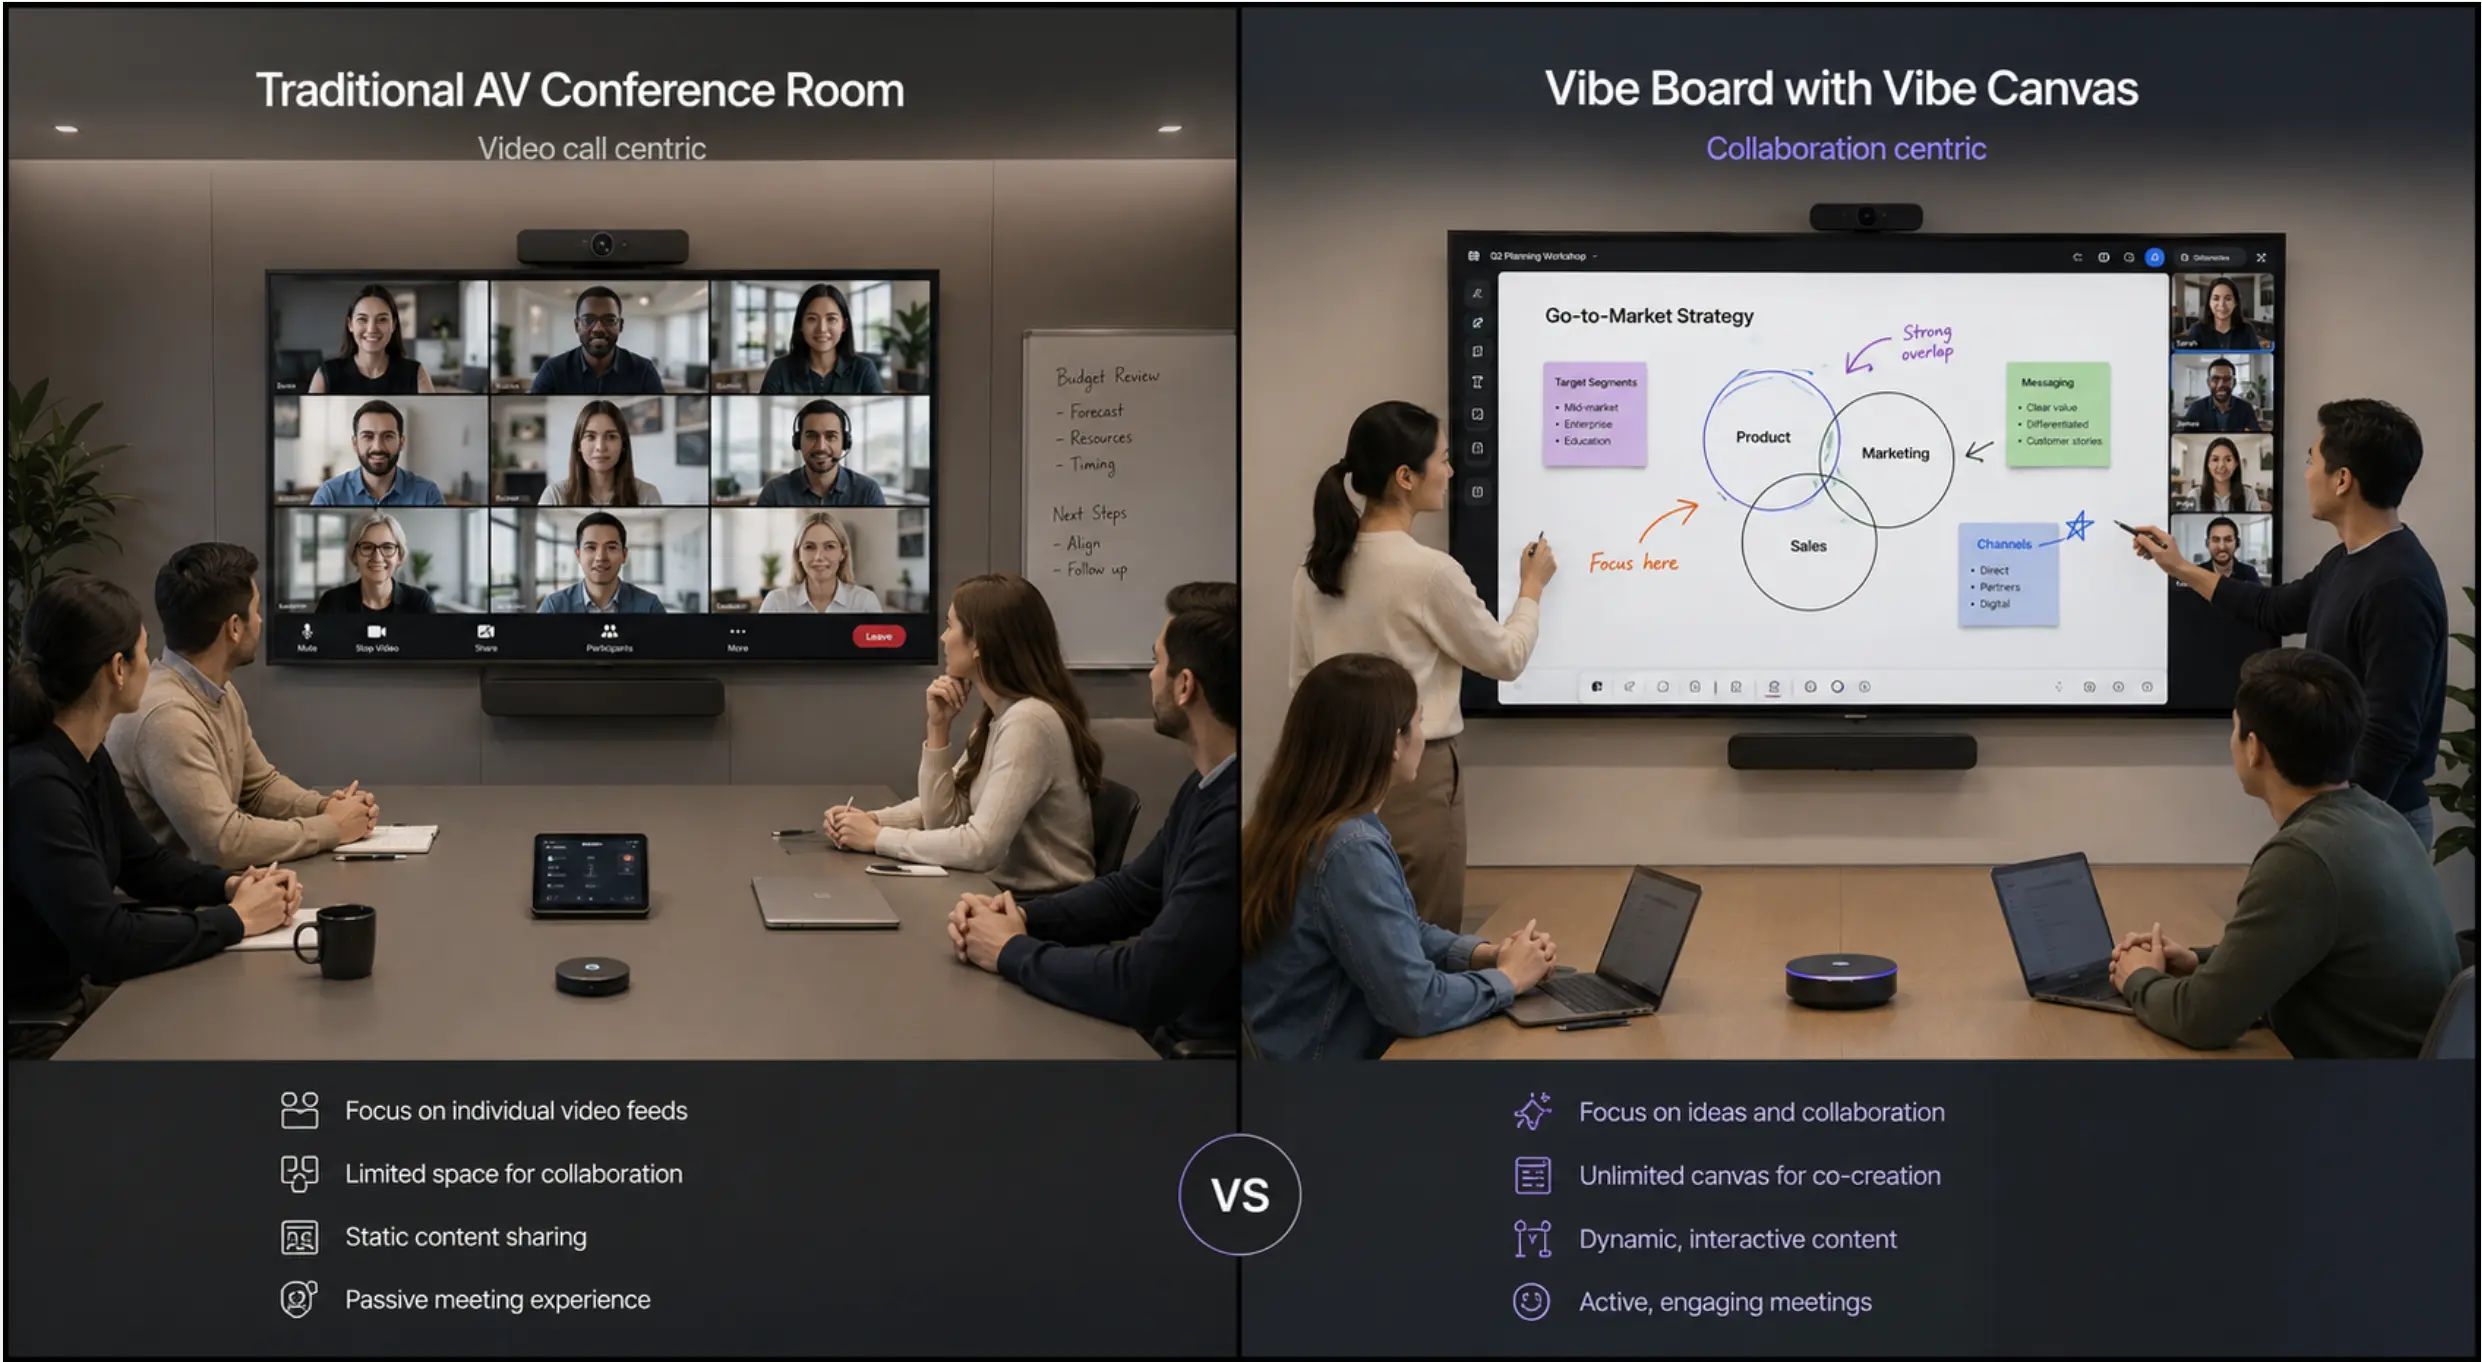
Here’s the gap that most conference room AV guides — and most traditional AV vendors — don’t address: what happens in the room when you’re not on a video call?
A standard AV setup is built for one mode: video conferencing. Display on, camera on, call connected, call ends, display off. There’s no persistent workspace, no shared canvas, no way to pick up where the last meeting left off without someone digging through a chat log or a shared drive.
This matters more in hybrid teams than it did in fully in-person offices, because content continuity across meetings is harder when not everyone is in the same place at the same time.
What a collaboration layer actually adds
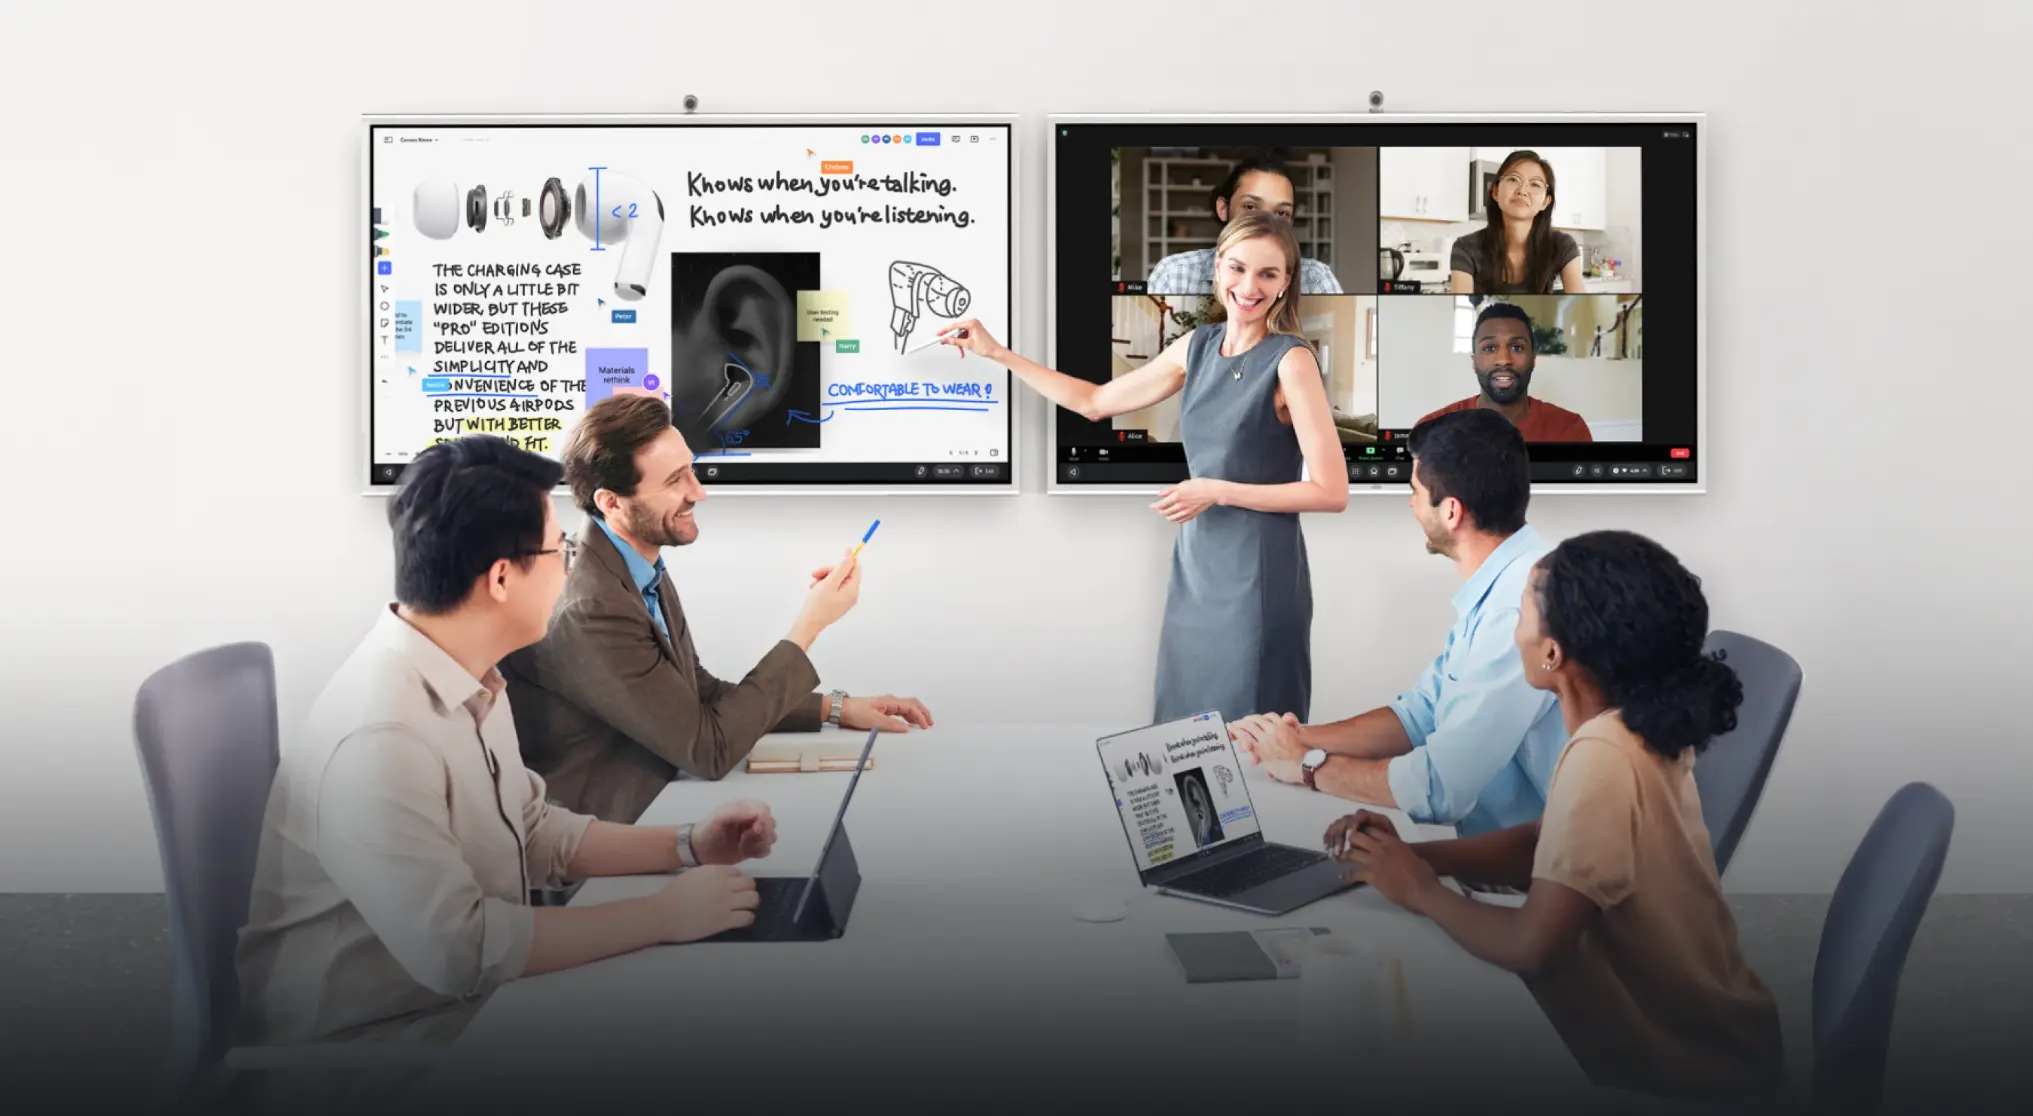
Digital whiteboard: Instead of a physical whiteboard that gets erased (or photographed and lost), a digital whiteboard persists between sessions. Participants in the room and remote participants annotate the same canvas in real time.
Infinite canvas for complex work: For teams doing design reviews, sprint planning, architecture diagrams, or workshop facilitation, an infinite canvas like Vibe Canvas lets a meeting pick up exactly where the last one ended — same board, same content, accessible by anyone on the team before and after the meeting itself.

Async contribution: Remote participants who couldn’t attend can add to the canvas before or after the meeting. In-room participants review it on the display. The meeting becomes a checkpoint in an ongoing workspace rather than an isolated event.
In our experience working with hybrid teams, this is the capability that most surprises people who’ve only ever used traditional AV setups — not because the technology is complex, but because it changes what a meeting room is actually for.
Step 6: Compute, Control, and Connectivity
Compute options
Dedicated room PC (Windows or ChromeOS) — traditional enterprise approach. Maximum flexibility, but requires ongoing OS updates, driver management, and IT attention. Most common in large enterprise environments with dedicated AV staff.
All-in-one room devices — display, collaboration software, and room management in a single unit, with camera and audio paired separately for positioning flexibility. This approach collapses five of the seven layers in the stack into one device, significantly reducing the number of components to configure and maintain.
Vibe offers two models depending on team needs:
-
Vibe Board S1 runs VibeOS (ChromeOS-based) — optimized for fast, stable meeting room performance. Native support for Zoom, Teams, Google Meet, and 250+ app integrations out of the box. Best fit for huddle rooms and standard conference rooms that want a straightforward, IT-light setup.
-
Vibe Board S1 Pro runs Windows 11 Pro — opens up the full Windows software ecosystem, including professional tools like AutoCAD, Adobe Creative Suite, and industry-specific applications. Best fit for teams that need a meeting room display and a full Windows workstation in the same device: AEC firms, design studios, healthcare teams running Windows-based clinical software.
Both models support Vibe Canvas for persistent collaborative whiteboarding, and can be paired with Vibe Bot for AI-layer meeting management (more on that below).
Video bars (Poly Studio, Logitech Rally Bar) — self-contained camera + compute units that connect to an existing display via HDMI. Good for rooms where a display already exists and you’re adding conferencing capability without a full replacement.
Vibe Bot: Professional AV Hardware with an AI Layer
Most conference room setups treat meeting recording and note-taking as a separate problem — a SaaS tool someone signs up for individually, a bot that joins calls from a laptop, or a manual process that breaks down the moment the person responsible is out of office.
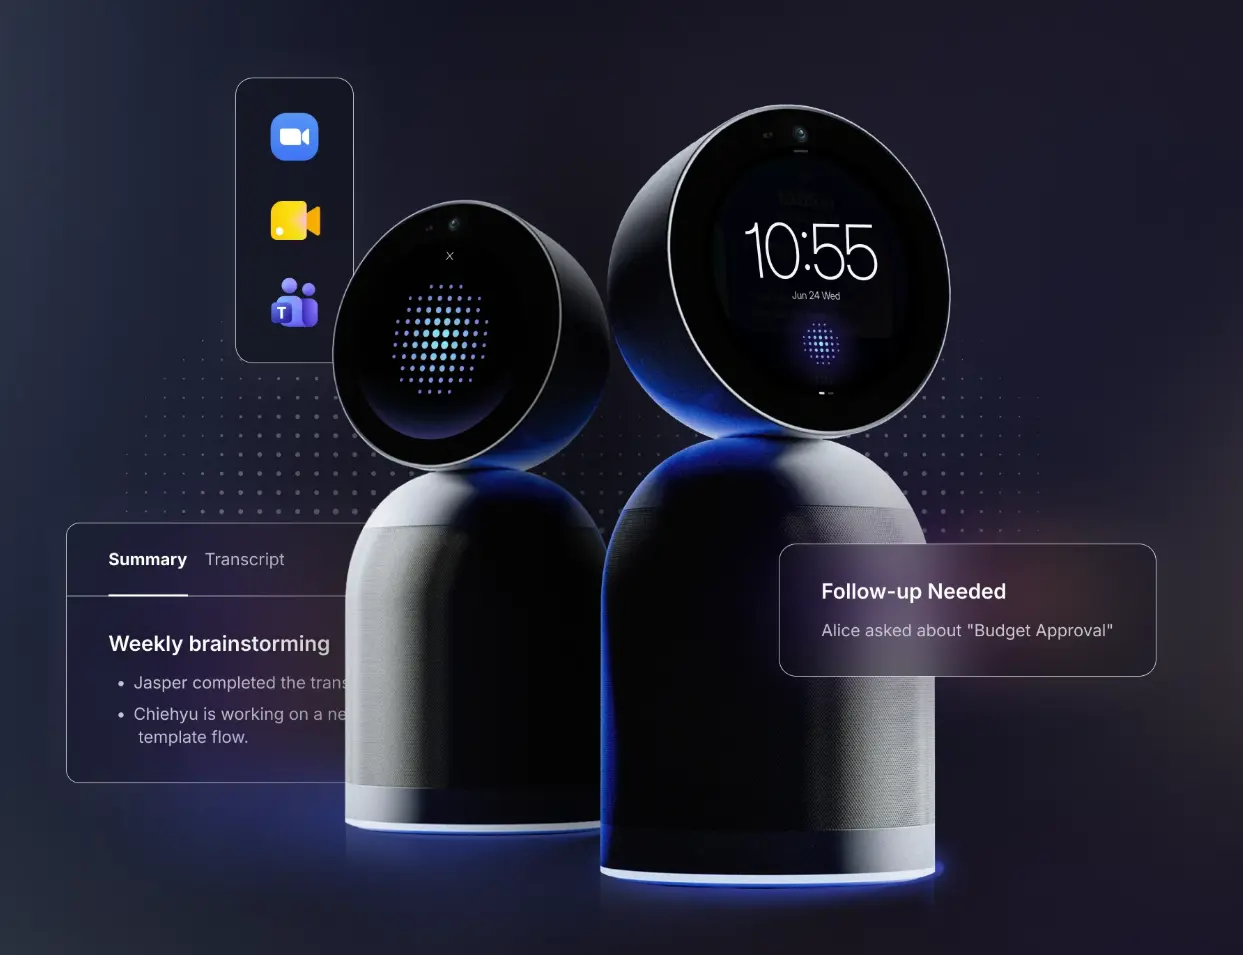
Vibe Bot solves this at the hardware level. It’s a dedicated conference room device that handles meeting capture, camera, and room audio — purpose-built so the AI layer has a reliable, always-on physical foundation in the room rather than depending on someone’s laptop being present.
On top of the hardware sits Vibe AI, the SaaS layer that does the heavy lifting: generating meeting notes and summaries, tracking action items and decisions, and building cross-session memory through the Memory Graph. That means a follow-up meeting picks up where the last one left off — open questions, prior decisions, and context surfaced automatically, without anyone digging through transcripts.
For teams running recurring project meetings, client check-ins, or sprint reviews in the same room week after week, this is the difference between a conference room that captures institutional knowledge and one that lets it evaporate after every call.
Connectivity at the table
Provide HDMI and USB-C input at the table — via cable cubby or table grommet, not loose cables. USB-C handles most modern laptops without adapters. Enable native wireless sharing (Miracast for Windows, AirPlay for Apple) as the primary path. Keep one HDMI cable as a fallback.
The goal is zero adapters on the conference table. Every adapter is a potential failure and a friction point.
Budget Ranges by Room Size
|
Room size |
Display |
Camera |
Audio |
Compute / Control |
Install |
Total |
|---|---|---|---|---|---|---|
|
Huddle (2–4 seats) |
$600–$1,200 |
$300–$800 |
$200–$600 |
$0–$500 |
$200–$500 |
$2,000–$5,000 |
|
Standard (5–12 seats) |
$1,500–$3,500 |
$800–$2,500 |
$800–$2,500 |
$500–$2,000 |
$500–$1,500 |
$5,000–$15,000 |
|
Large (12–20 seats) |
$3,000–$6,000 |
$2,500–$6,000 |
$2,500–$6,000 |
$2,000–$5,000 |
$1,500–$4,000 |
$15,000–$35,000 |
|
Boardroom (20+ seats) |
$6,000–$15,000+ |
$5,000–$12,000 |
$5,000–$15,000 |
$3,000–$8,000 |
$3,000–$8,000 |
$30,000–$80,000+ |
Source: JTech Digital AV Cost Guide 2026; Petronella Cybersecurity Conference Room Guide 2026. Ranges reflect mid-market hardware; enterprise installs fall at the top or above.
Do You Need a Professional AV Integrator?
Huddle rooms and standard meeting rooms (up to ~12 seats): Self-installation is realistic. Vibe Board S1 and S1 Pro are designed to be deployed by an IT generalist — wall-mount the display or set it on a portable stand , pair the camera and audio, connect to the network, and the room is ready. No AV integrator, no multi-week project, no specialist on-site. Teams typically have a room running in a day.
Large conference rooms and boardrooms: A professional integrator earns their cost here. Ceiling microphone systems, multi-zone speakers, DSP routing, PTZ camera programming, and control system integration all require expertise that goes beyond general IT. An integrator will conduct a site visit, produce a system design document, install and document everything, and train your team. The cost of getting it wrong in a 20-seat boardroom exceeds the integration fee many times over. Vibe Board S1 Pro’s Windows foundation makes it compatible with the control systems and AV management platforms that integrators typically spec at this tier.
The Bottom Line
A conference room AV setup that works is one nobody thinks about. The display is the right size for the room. Audio coverage reaches every seat. The meeting starts with one tap, on whatever platform the organizer chose. And when the call ends, the collaborative work from that session doesn’t disappear — it’s still there when the next team walks in.
Getting there requires getting six layers right, in the right order. Start with room size. Prioritize audio. Choose platform-compatible hardware. And if your team does real collaborative work in meetings, don’t skip the layer that traditional AV setups don’t have.
Frequently Asked Questions
I have a $8,000 budget for one conference room — what should I prioritize?
At $8,000 for a standard meeting room (5–12 seats), prioritize audio first. Allocate $1,500–$2,000 for a quality tabletop mic array with echo cancellation, $2,000–$3,000 for an 86″ commercial display, $1,000–$1,500 for an AI auto-framing camera, and the remainder for compute and installation. If you’re choosing between a better display and a better microphone at the margin, choose the microphone — remote participants experience audio degradation more acutely than video degradation.
What’s the difference between a Zoom Room and using Zoom on a laptop in the conference room?
A Zoom Room is a dedicated room system where a certified device manages the meeting interface, camera, and audio centrally. A laptop-based setup relies on the laptop user’s connection and requires manual camera/audio switching. Zoom Rooms supports one-touch join from a room calendar, centralized device management, and platform features like smart gallery and speaker tracking that aren’t available on standard Zoom desktop. For a room used by more than a handful of people per day, a proper room system is worth the investment.
How many conference rooms does a 50-person company typically need?
A general benchmark is one meeting room per 8–10 people, plus dedicated huddle rooms at a ratio of roughly one per 5–6 people. For a 50-person team: 5–6 standard meeting rooms and 8–10 huddle rooms. In hybrid-first offices where peak in-office attendance is lower than headcount, you can often run leaner — but under-building conference room capacity is a common and expensive mistake in new office setups.
Our team uses both Zoom and Teams depending on the client. What room setup handles both?
Single-platform certified hardware (Zoom Rooms or Teams Rooms) creates friction when switching — you’re running a second platform in a room built for the first. The cleaner solution for multi-platform environments is hardware that runs both natively without a configuration swap. Vibe Board supports Zoom, Teams, Google Meet, and 250+ other integrations from the same interface, so platform choice becomes the meeting organizer’s decision, not an IT configuration problem.
What’s the most overlooked part of a conference room AV setup?
Acoustic treatment. Most conference room buyers focus on hardware and ignore the room itself. Hard floors, parallel glass walls, and high ceilings create echo and reverb that software-based noise cancellation can’t fully suppress. Adding acoustic panels to the rear wall and ceiling baffles over the table costs a fraction of the AV hardware budget and can meaningfully improve audio clarity without changing a single piece of equipment.
Is a digital whiteboard worth adding to a conference room setup?
For teams that do any kind of collaborative work in meetings — design reviews, planning sessions, workshops, client presentations — yes. A physical whiteboard gets erased; a digital whiteboard persists. Remote participants can contribute in real time. Content from one meeting becomes the starting point for the next. The value scales with how collaborative your meetings actually are; for rooms used primarily for status updates and one-way presentations, it matters less.