
You're three minutes into your lesson. Students are quiet, engaged, and following along. Then you need to pull up a diagram — so you reach for your laptop, switch HDMI inputs, wait for the projector to recognize the signal, and lose the annotation you just drew on your whiteboard. By the time the screen refreshes, four students have started talking and two are on their phones. You spend ninety seconds getting everyone back. You've done this six times today.
The real issue isn't the projector — it's the fragmented workflow. Every time you switch between tools, the lesson resets. The interruption isn't a technical glitch; it's a structural one. An interactive whiteboard for classroom use solves this by collapsing your presentation, annotation, collaboration, and sharing into a single surface. This guide shows you exactly how to set one up and use it — so you can just teach.
- An interactive whiteboard for classroom use unifies presentation, annotation, collaboration, and file sharing in one touch-enabled surface.
- First-time setup on most modern boards takes under 15 minutes — no IT department required.
- Interactive whiteboards integrate natively with Google Classroom, Canvas, Zoom, and third-party apps like Desmos and Kahoot.
- Students can annotate, build timelines, collaborate on writing, and solve equations directly on the board — across every subject.
- Lesson boards can be saved and shared in under 30 seconds, replacing blurry whiteboard photos with permanent, shareable artifacts.
What Is an Interactive Whiteboard?
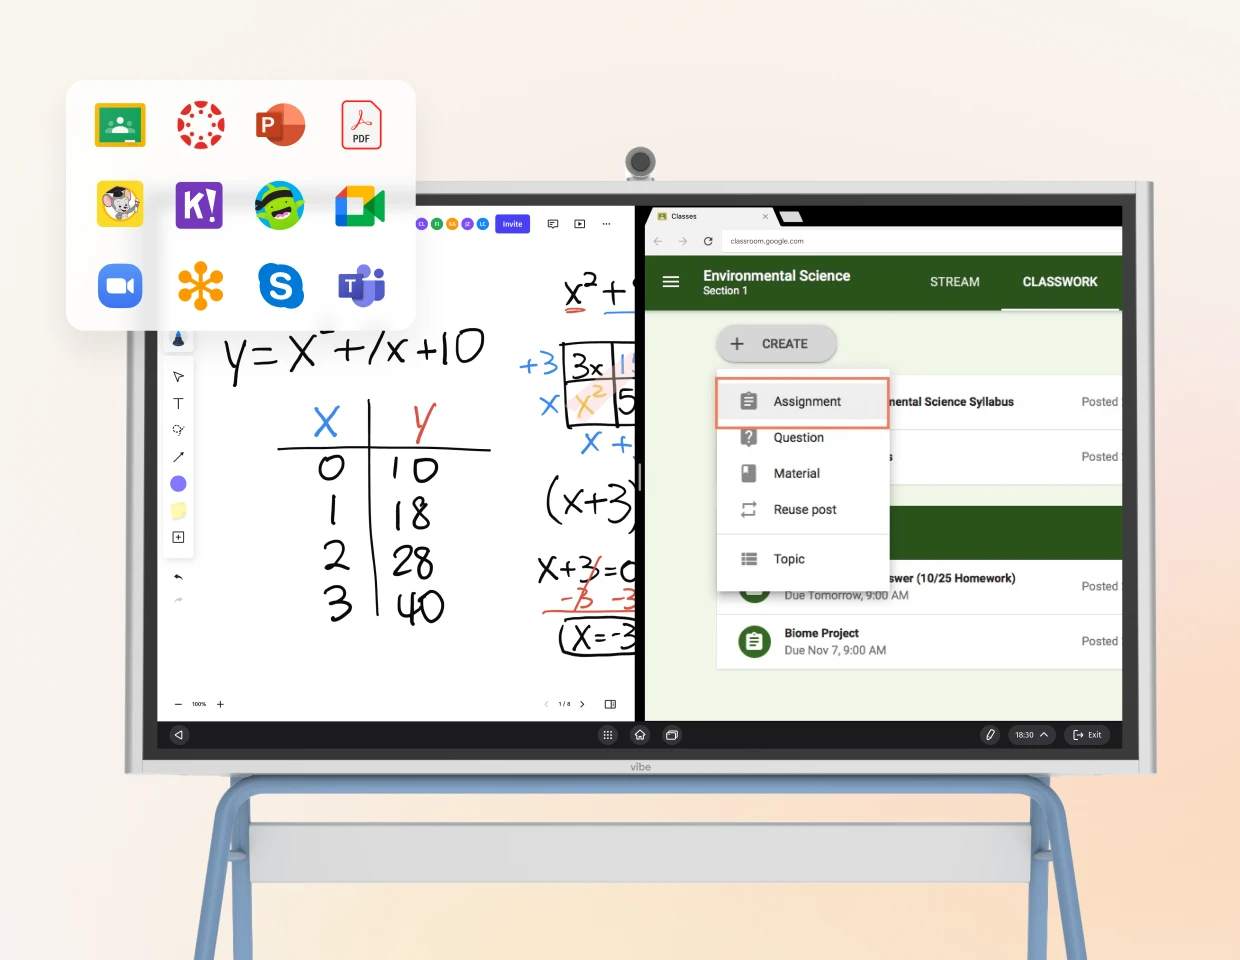
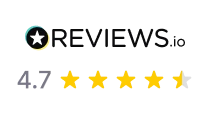
An interactive whiteboard for classroom use is a touch-enabled display that functions simultaneously as a presentation screen, annotation surface, collaboration workspace, and file hub — all in one device. Unlike a standard projector-and-screen setup, an interactive whiteboard responds to touch input, stylus writing, and connected devices, so teachers can annotate over slides, launch apps, invite students to contribute, and save everything without switching hardware or software.
A smart board for classroom environments typically refers to a large-format interactive display (commonly 55″–86″) mounted at the front of the room. Modern versions run their own operating system, connect to the internet, and integrate with Google Classroom, Canvas, Zoom, and other tools teachers already use. A digital whiteboard for classroom purposes goes beyond the physical board: the "board" exists in software, so the content is always saved, shareable, and accessible after class ends. For a deeper look at how these tools compare with traditional setups, see our guide on the interactive whiteboard vs projector debate.
Setting Up Your Interactive Whiteboard
First-Time Setup
Getting a smart board for classroom use running does not require an IT department. Most modern interactive whiteboards — including the Vibe Board — follow a setup sequence you can complete in under fifteen minutes on a first-use day.
-
Step 1: Mount and power on. Wall-mount the display at a height where students in the back row can see the bottom third of the screen. The standard recommendation is the bottom edge at 28″–32″ from the floor for mixed-age classrooms. Power the board on and follow the initial language and network prompts.
-
Step 2: Connect to your school Wi-Fi. The board needs network access to sync with cloud tools. Use your school's educator Wi-Fi network. If your school requires device registration for network access, complete that step before setup day.
-
Step 3: Sign in with your educator account. Most interactive whiteboards support Google or Microsoft SSO. Signing in with your existing account immediately surfaces your Drive, OneDrive, or cloud files without manual transfers.
-
Step 4: Calibrate the touch surface. Run the touch calibration sequence (usually found under Settings → Display). This takes sixty seconds and ensures your finger or stylus lands exactly where you intend on screen.
-
Step 5: Do a dry run before students arrive. Open one slide deck, draw one annotation, save it, and open it again. Confirm you know where saved boards live before your first live lesson.
Connecting to Existing Tools
The value of a digital whiteboard for classroom use scales with how well it connects to what you already do. A properly integrated interactive whiteboard should not require you to rebuild your workflow — it should slot into it. This is one of the key reasons classroom collaboration tools have become central to modern teaching workflows.
|
Platform |
How It Connects |
Key Benefit |
|---|---|---|
|
Google Classroom |
Sign in with Google account |
Drive files accessible; annotated slides save back to Drive |
|
Canvas |
Board's built-in browser |
Display rubrics and assignments directly on screen |
|
Zoom |
Native app (built-in camera/mic) |
Hybrid students see live board annotations in real time |
|
Desmos / Nearpod / Kahoot |
Android or web-based OS |
Run third-party apps directly — no laptop intermediary |
Classroom Layout Tips
Where you place an interactive whiteboard for classroom use affects how much you actually use it during lessons.
-
Front-center placement works for most direct instruction models. Ensure no student desk is more than 30 feet from the display for a standard 75″ board.
-
Side-wall placement suits maker-style or group-work classrooms where the teacher moves around and the board serves as a reference point, not the focal point.
-
Height for younger students: In elementary settings, mount 6″–8″ lower than standard so students can reach the board for activities.
-
Reduce glare: Position the board perpendicular to windows rather than facing them. Glare from natural light is the most common reason teachers stop using an interactive display after initial setup.
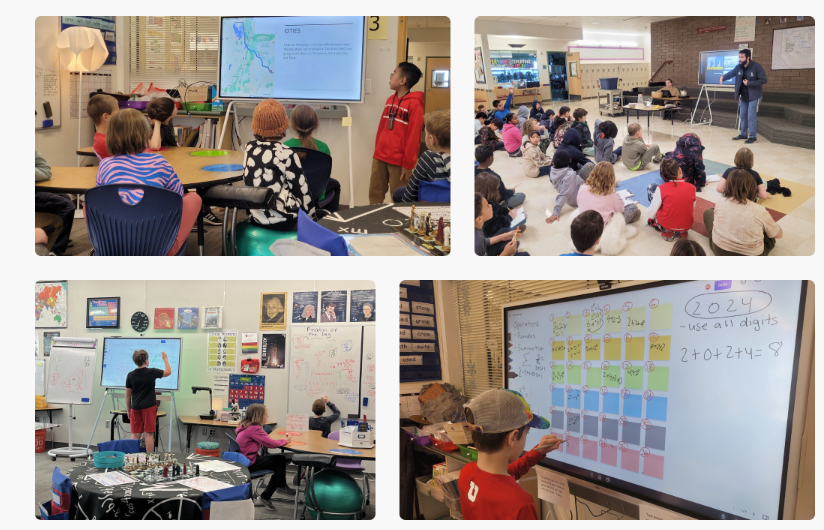
How Teachers Use Interactive Whiteboards During Lessons
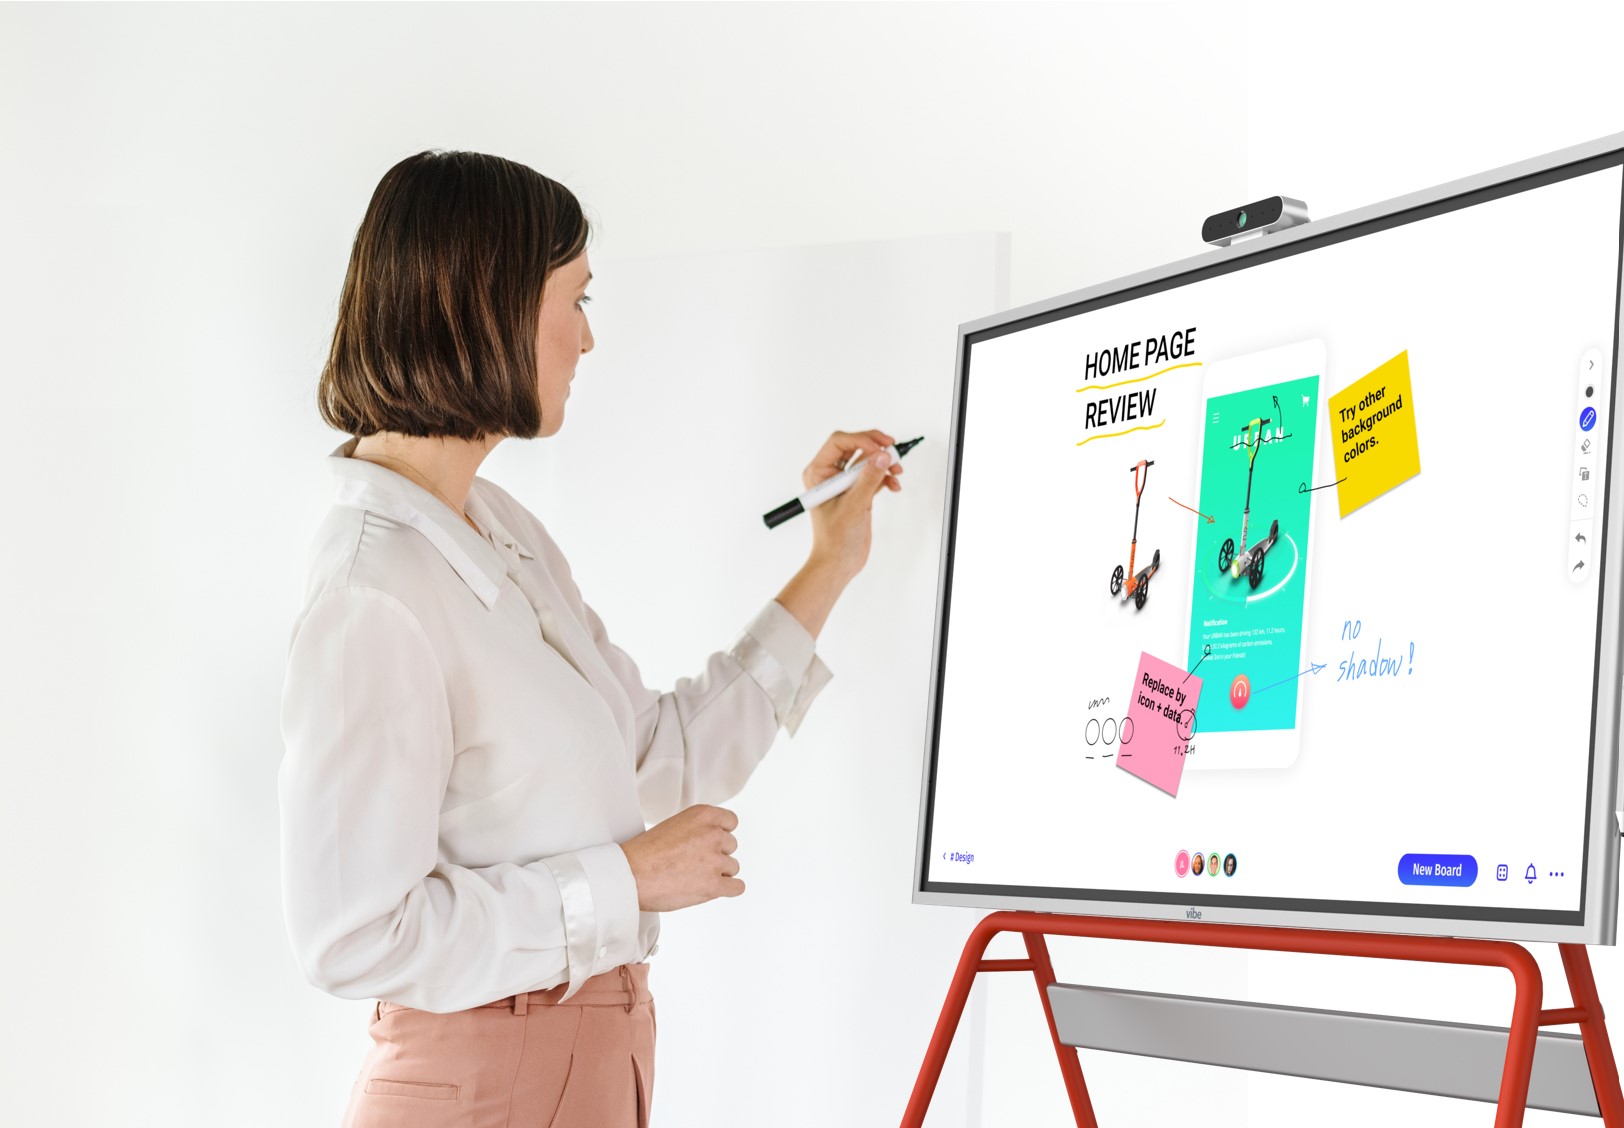
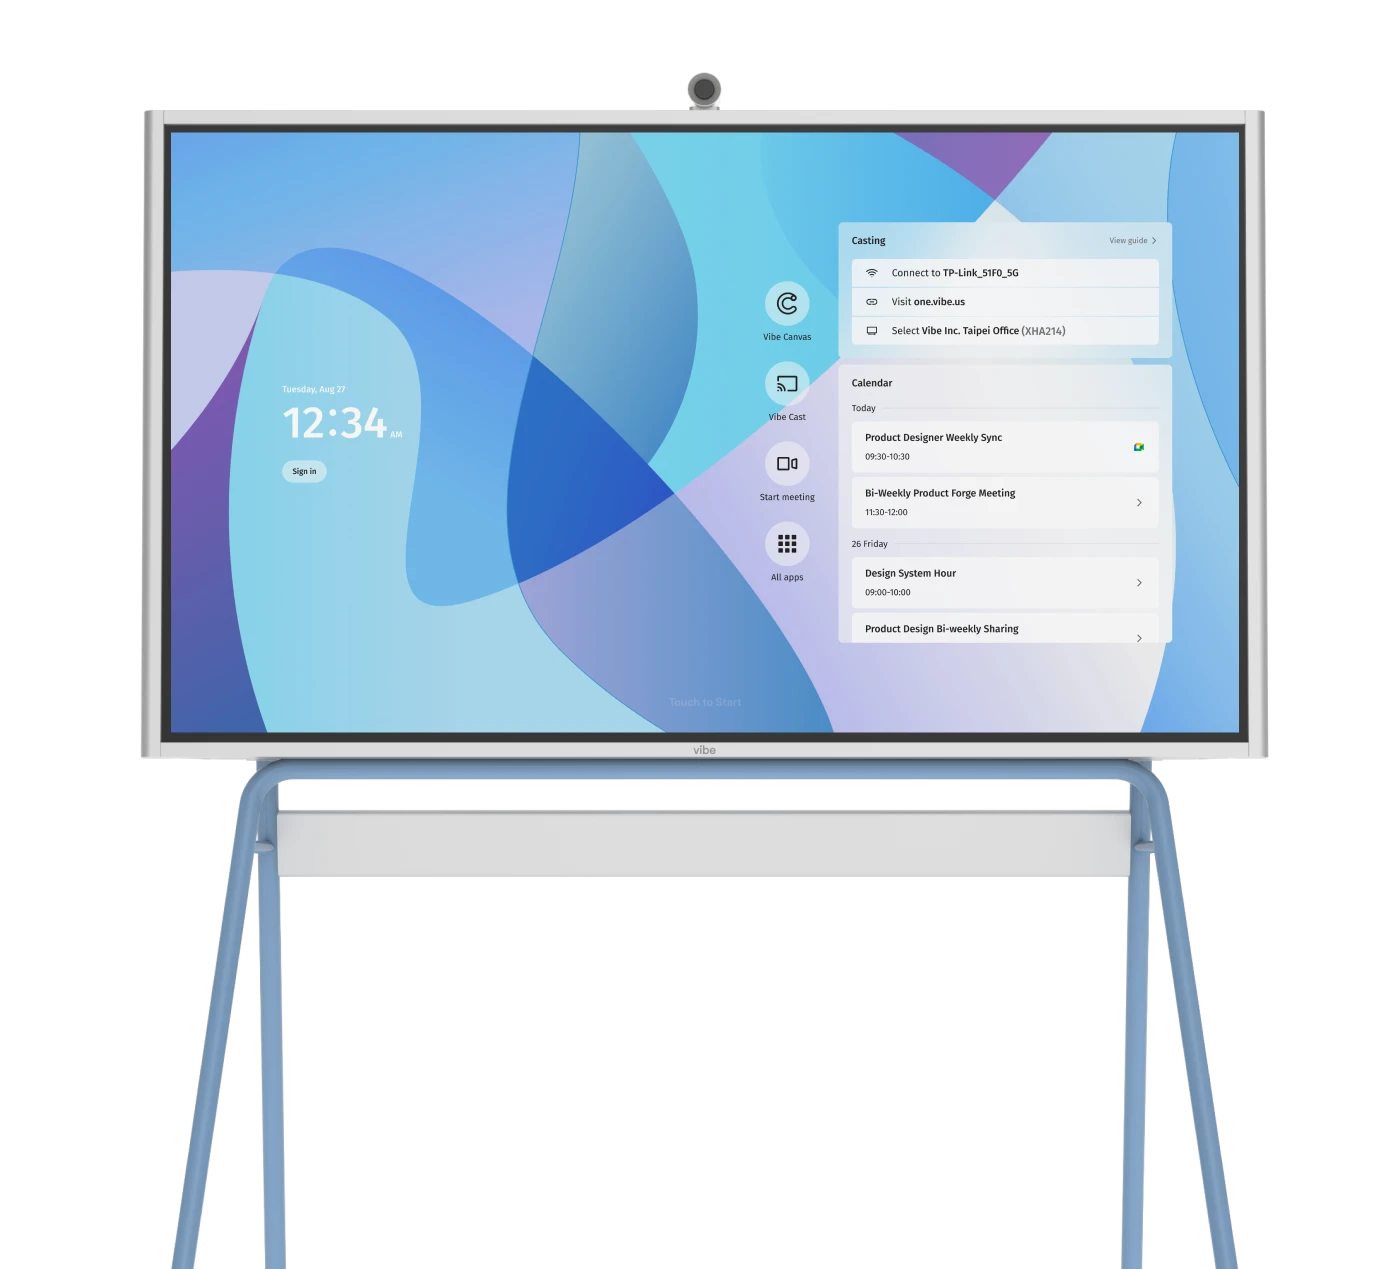
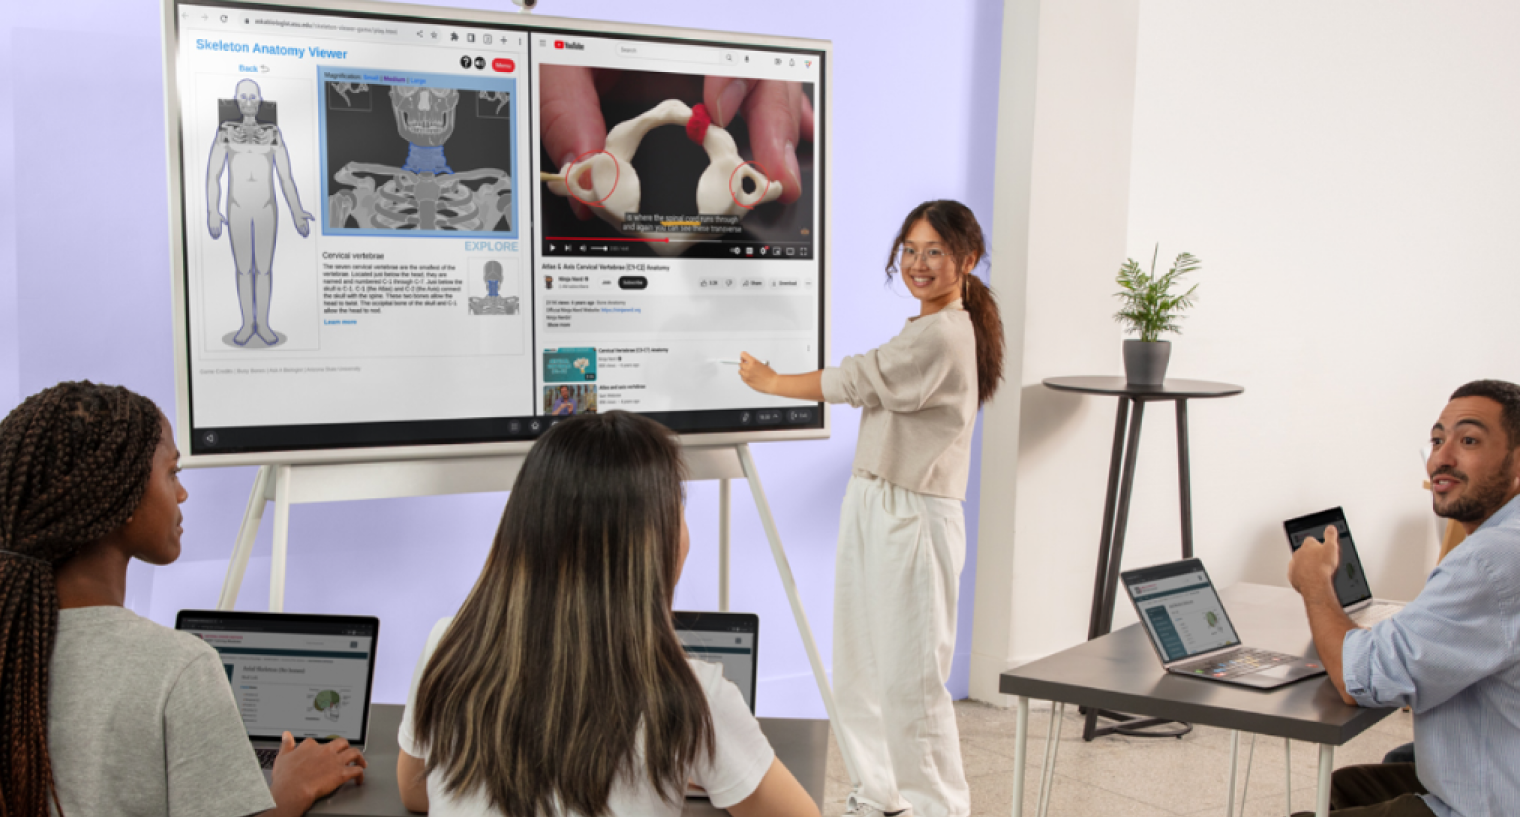
 Teacher using a classroom interactive display for a hybrid lesson, with remote students joining via video conference in real time.
Presenting and Annotating Lesson Materials
The most immediate gain from a smart board for classroom use is the ability to annotate directly over any content — slides, PDFs, images, videos — without opening a separate app or switching inputs.
In practice: you open your history lesson slides, display a photograph of a primary source document, and draw circles and arrows directly on top of it while students watch. When a student asks a question, you write their exact words on the image as a caption. At the end of class, you save the annotated version as a PDF and post it to Google Classroom in two taps. Nothing is erased. Nothing is lost. The lesson artifact your students study from tonight reflects exactly what happened in the room today — including the annotations that came from their questions.
This workflow eliminates the gap between "what I planned" and "what I actually taught." According to a 2022 study published in Computers & Education, students who reviewed teacher-annotated lesson materials after class scored 18% higher on recall assessments than students given un-annotated slides.
Running Interactive Student Activities
An interactive whiteboard becomes a collaboration surface, not just a display, when students can contribute to it. You can run activities where individual students write on the board, where small groups contribute simultaneously from their own devices, or where the whole class votes on a displayed prompt.
Scenario — geometry class: You display a coordinate plane on the board. You call three students up in rotation to plot points by touching the screen. The remaining students check their answers on paper. When a student places a point incorrectly, the class can see it immediately and discuss why — the error is public and productive, not shameful, because it's on the shared board, not an individual's paper.
Scenario — writing workshop: You display a student paragraph (shared anonymously with permission) on the board. Students walk up and underline strong verbs in blue, circle unclear pronouns in red. The class builds a shared annotation together. You save it and use it as the anchor for your mini-lesson on clarity.
These scenarios are only possible continuously — without interruption or resetting — when your annotation, display, and save functions are unified on one surface.
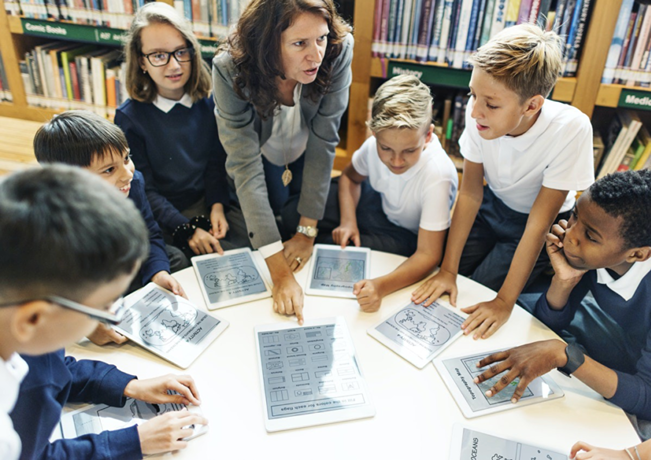
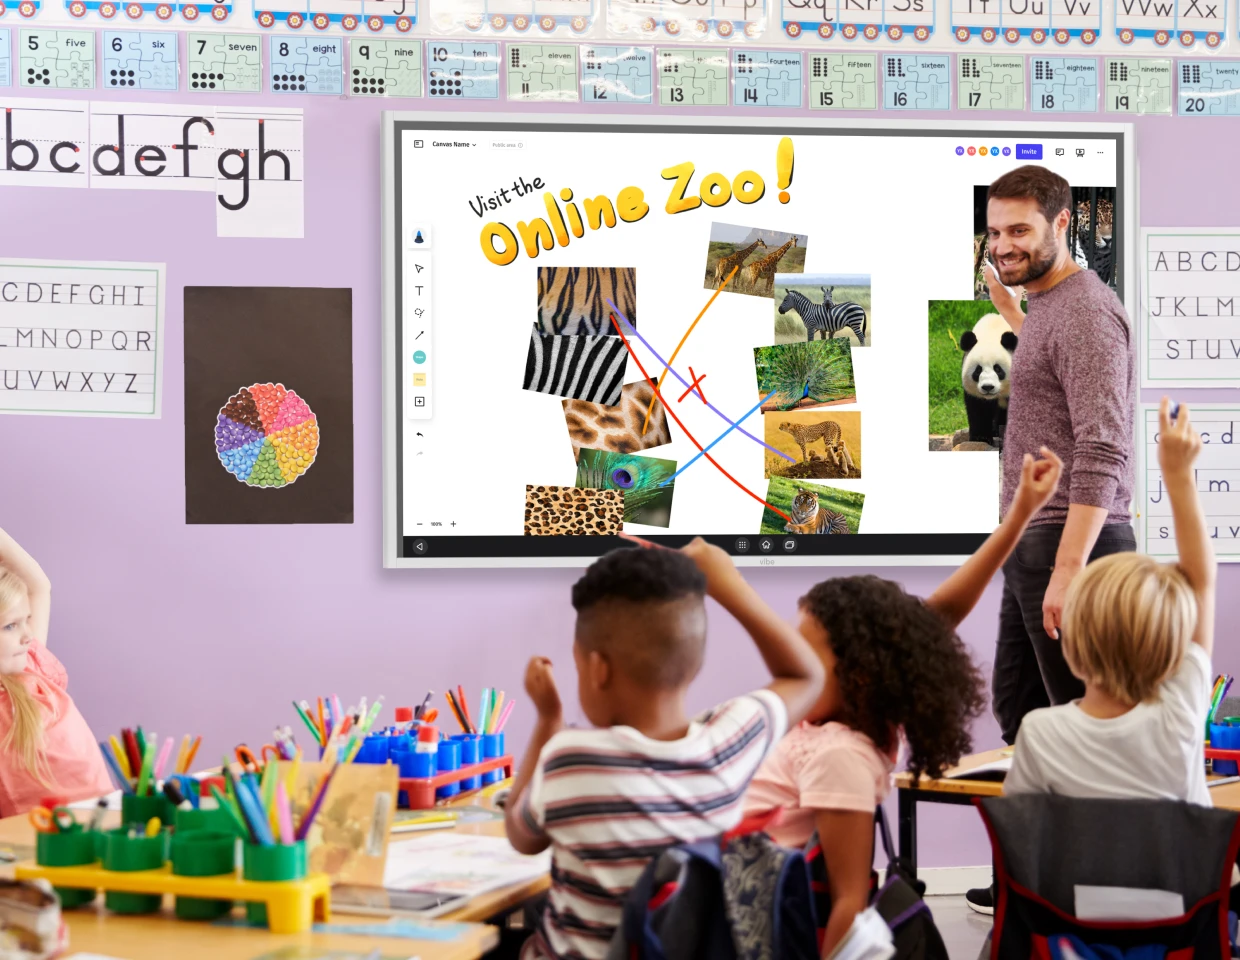
 Vibe interactive whiteboard integrated in a classroom, showing students engaged in collaborative learning activities on a large interactive display.
Saving and Sharing Lesson Boards
One of the most underused features of a digital whiteboard for classroom use is the ability to capture exactly what happened in a lesson and share it with students who were absent, students who need to review, or colleagues who teach the same content.
After each lesson, your board state — including all annotations, student contributions, and additions made during class discussion — can be exported as a PDF or image and posted directly to your LMS. This takes under thirty seconds on a properly integrated board. It replaces the photograph-of-the-whiteboard workflow that produces blurry, incomplete images your students can barely read.
For teachers in co-taught or department-shared classrooms, this sharing function also means a colleague can review exactly what you covered — not a lesson plan, but the actual lesson artifact — and build on it the next day without duplication.
Using Familiar Apps
You should not have to learn new software to use an interactive whiteboard effectively. A well-designed smart board for classroom use runs the apps you already rely on — natively, without workarounds. The ISTE standards for technology integration emphasize exactly this principle: technology should enhance learning, not disrupt it.
-
Open Desmos and graph equations by touch.
-
Run a Kahoot from the board without switching to a laptop.
-
Show a Nearpod activity and navigate it from the front of the room.
-
Use YouTube in full screen with no adapter required.
The board is a surface; your existing tools are what run on it. The continuity gain comes from having all of those tools accessible from one place, without cables, without inputs, without reset.
Interactive Whiteboard Activities by Subject
Math: Equation Solving and Graphing
Interactive whiteboards make mathematical reasoning visible in ways static slides cannot. Teachers can write equations by hand using a stylus, and many boards support handwriting-to-text recognition that converts written math into clean digital notation. Graphing tools like Desmos run natively on the board — teachers can graph functions by touching the screen, drag points to show transformations, and zoom into regions of interest during whole-class discussion.
Classroom activity:
-
Write a quadratic equation on the board using the stylus.
-
Ask students to predict the shape of the graph before you plot it.
-
Touch to graph the function with Desmos.
-
Annotate the vertex and roots directly on the graph.
-
Save the annotated graph and post it to your LMS for review.
Science: Diagram Annotation and Virtual Labs
Science content is visual — cells, molecular structures, tectonic plates, ecosystems. An interactive whiteboard for classroom use lets teachers display a labeled diagram and then annotate over it live, adding layers of information as the discussion deepens.
Classroom activity:
-
Display a cell diagram on the board.
-
As you explain each organelle, draw arrows and add labels live.
-
Cover the labels.
-
Ask students to come up and label from memory.
-
Save the student-labeled version as a formative check.
Virtual lab platforms like Labster and PhET run directly in the board's browser, giving students who cannot access hands-on lab materials a dynamic alternative. The teacher can model the simulation on the board, then students replicate it on their own devices in parallel. For broader guidance on integrating technology into instruction, Edutopia's classroom technology resources are a reliable reference.
 Student using a Vibe Board interactive whiteboard to demonstrate biology concepts to classmates during a classroom lesson.
Language Arts: Collaborative Writing and Mind Maps
Collaborative writing benefits directly from a shared surface where multiple contributors can see their work simultaneously. Teachers can display a shared document on the board, annotate feedback in real time, and build mind maps with the class during brainstorming sessions.
Classroom activity:
-
Open a blank board.
-
Write a central theme — "justice" — in the center.
-
Ask students to call out associations; write each one connecting them with lines.
-
At five minutes, save the completed mind map.
-
Students use it as a pre-writing scaffold for their essays.
History and Social Studies: Timelines and Map Annotation
History teaching depends on spatial and temporal relationships that are hard to communicate through text alone. Interactive whiteboards let teachers build timelines incrementally during a lesson — adding events as students encounter them in the reading, not all at once on a pre-made slide. The NEA's teaching technology guidance notes that spatial and visual learning tools have measurable positive impact on retention in social studies contexts.
Classroom activity:
-
Display a blank world map on the board.
-
As you discuss trade routes, draw the routes directly on the map.
-
Add labels for key cities.
-
Call a student up to mark where a particular conflict started.
-
Save the annotated map — it becomes a study resource for the unit.
Tips for Getting the Most from Your Interactive Whiteboard
-
Anchor every session with one open board. Start each class by opening a blank board or a template. Use it as your running note space throughout the lesson.
-
Use the stylus for explaining, your finger for navigating. Most interactive whiteboards distinguish between stylus input (for annotation) and touch input (for navigation).
-
Build a small template library. Create five to ten reusable board templates — coordinate planes, blank timelines, T-charts, sentence frames — and save them to open at the start of any lesson.
-
Teach students the "come up" norm in the first week. Interactive whiteboards lose their collaboration value if students are unsure whether they're allowed to touch the board.
-
Do not use it as a projector. If you use a smart board only to display slides you never annotate, you've paid for a projector. The value is in writing on it, saving what you write, and sharing it.
-
Keep cables off the floor when possible. Route cables along walls before the school year starts.
-
Restart weekly. Like any connected device, interactive whiteboards benefit from a weekly restart to clear memory and maintain performance.
Frequently Asked Questions
Q: What is an interactive whiteboard and how does it work in a classroom?
A: An interactive whiteboard for classroom use is a large touch-enabled display that combines the functions of a whiteboard, projector screen, and computer into one device. It responds to touch and stylus input, runs apps natively, connects to the internet, and saves everything created on it.
Q: How is a smart board different from a regular projector?
A: A projector displays content from a separate device onto a passive screen. A smart board for classroom use is itself a computer with a touch surface. With a projector, you switch HDMI inputs and cannot annotate without a separate tool. With a smart board, you open any app, write directly on the display, save the output, and share it — without interrupting the lesson.
Q: Do I need technical training to use an interactive whiteboard?
A: Most teachers are functional on a modern interactive whiteboard within one class period. Setup for boards like the Vibe Board takes under fifteen minutes: network login, educator account sign-in, and touch calibration.
Q: Can students interact with an interactive whiteboard during lessons?
A: Yes. Students can come to the board and write, draw, or annotate directly. In 1:1 device classrooms, students can contribute to a shared board from their own devices simultaneously.
Q: Will an interactive whiteboard work with Google Classroom or Canvas?
A: Yes. Boards that support Google account sign-in surface your Drive files immediately. For Canvas, the board's browser navigates your Canvas course directly.
Q: How do I save what I write on an interactive whiteboard?
A: Saving is typically one or two taps. The board exports the current state as a PDF or image to your connected cloud storage, from which you can share to your LMS.
Q: What size interactive whiteboard works best for a standard classroom?
A: For 24–30 students up to 30 feet deep, a 75″ display is standard. Rooms larger than 35 feet benefit from 86″.
Q: Is an interactive whiteboard worth it for a single-subject classroom?
A: Yes. The ability to present, annotate, save, and share from one surface without switching tools produces compounding value over a school year, regardless of subject.
You Can Just Teach
Here is what the school day looks like when your tools stop fighting each other.
You open your board at 8:05 AM. Your slides are already there from where you left off yesterday. You annotate over a diagram during first period, save the annotated version in two taps, and post it to Google Classroom before the bell rings. Second period, you run a collaborative timeline activity where four students build directly on the board while the rest follow along. You save that too. By the end of the day, you have five lesson artifacts — real records of what happened in each class — posted and accessible to students without a single cable swap, HDMI input switch, or whiteboard photograph.
The technology did not disappear. It just stopped interrupting. Your students stayed with you for eighty minutes at a time instead of drifting for ninety seconds every time you switched tools. The lesson kept moving. You kept teaching.
That is the difference a connected classroom workspace makes — not in features, not in specifications, but in the uninterrupted flow of a lesson that goes where you take it.
Ready to see it in your classroom? Explore the Vibe Board features or schedule a demo to walk through a lesson workflow with your own materials.